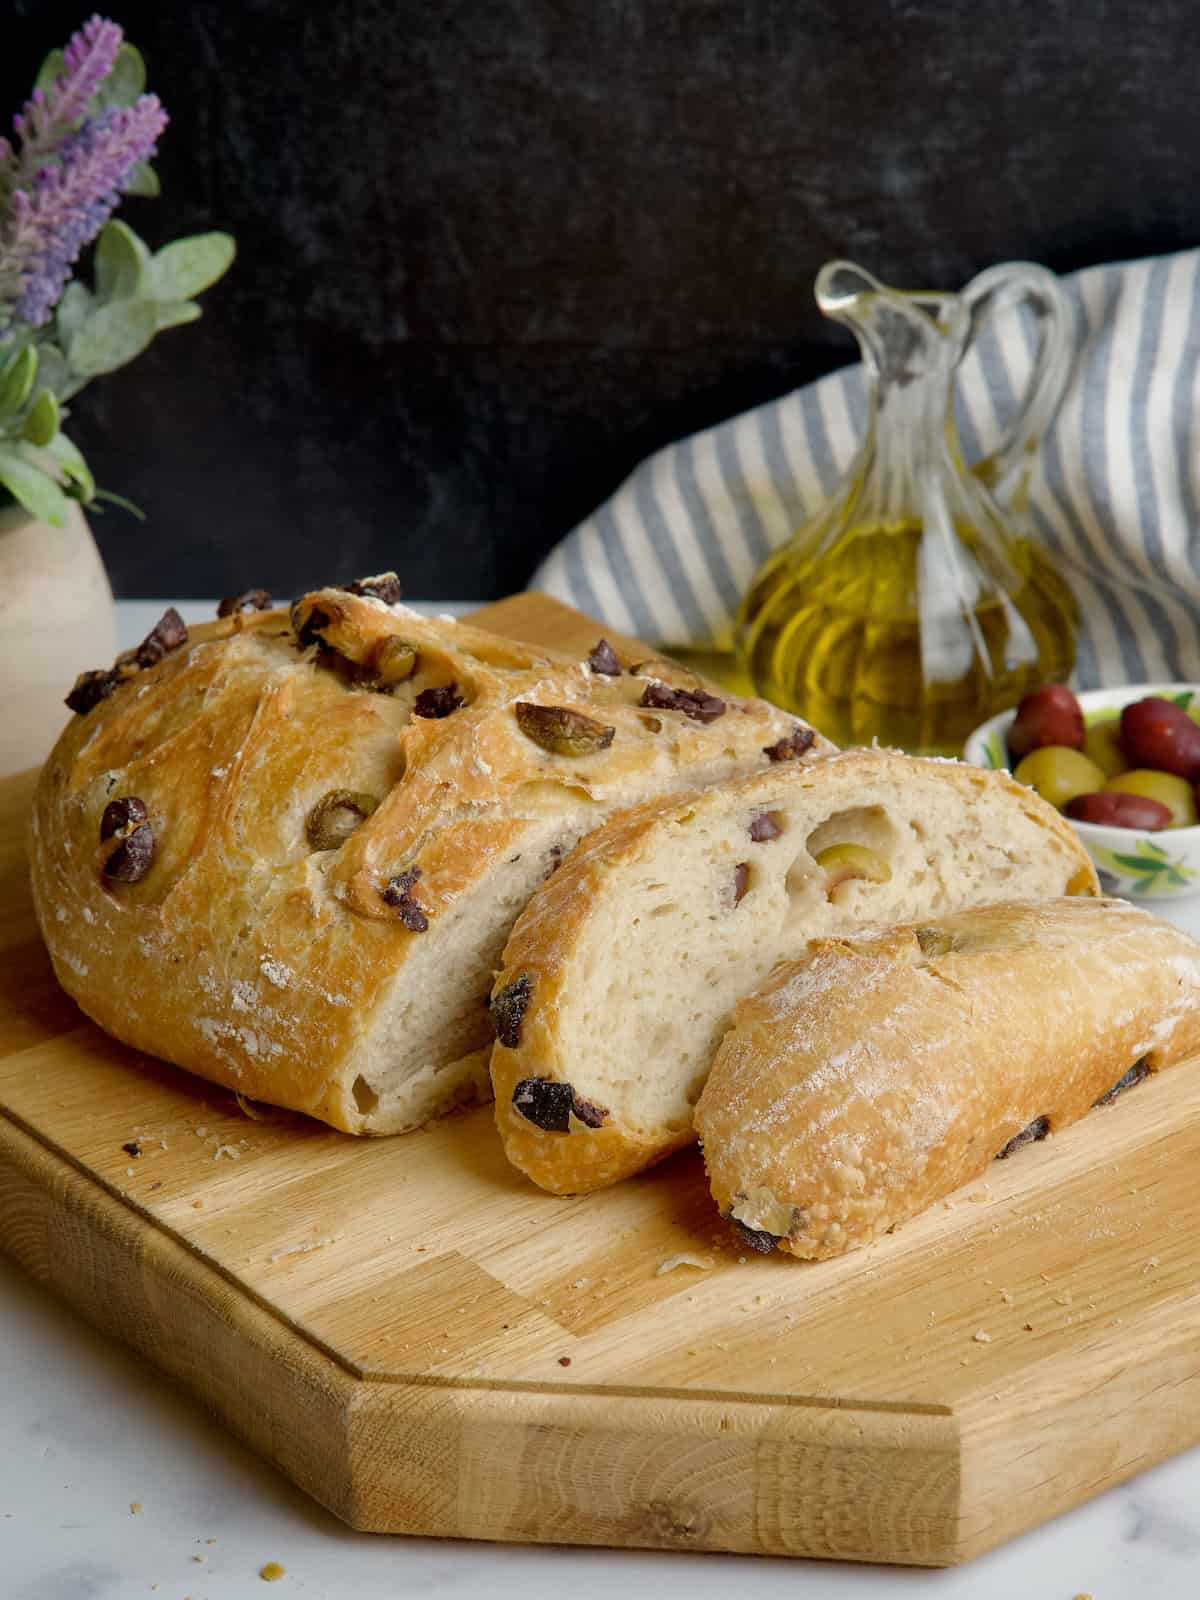
There is something so satisfying about making your own bread—the waiting for it to rise, shaping it into a loaf, and the anticipation while it bakes in the oven. Then comes the best part: cutting the first slice, hearing the crispy crust, and feeling the soft interior.
This Greek olive bread doesn’t require any kneading; you just let the yeast do the work overnight. It’s a wet, sticky dough that we’ll fold a couple of times before shaping the next day. All that resting and folding creates a light, fluffy interior with a perfectly crispy crust.
Jump to:
Why you should try my recipe
- Very easy to prepare, you just mix the ingredients and leave it to rest for several hours.
- No kneading required, just folding the sticky dough.
- Great with your main, appetizers and mezze platters.
- No preservatives like store-bought bread.
Ingredients & How-to
To make this Greek olive bread we are going to need bread flour, dry instant yeast, salt, olive oil, water and olives.
- Bread flour: I’m using bread flour that is stronger than all-purpose and has a higher-protein content.
- Yeast: I’m using dry instant yeast for baking as you don’t need to activate it first, just mix it with the rest of the ingredients.
- Olives: I like to use a mix of kalamata olives and green olives for variety. Kalamata olives have a stronger flavor and are more salty whereas green olives have a more citrus flavor.

For full quantities check the recipe card down below.
01. I start by mixing the bread flour with the yeast in a large bowl. I use a large bowl because the dough will rise overnight and needs plenty of room.
02. Next, I add the salt, olive oil, and water. The water doesn’t need to be lukewarm as in other dough recipes, room temperature is good enough.

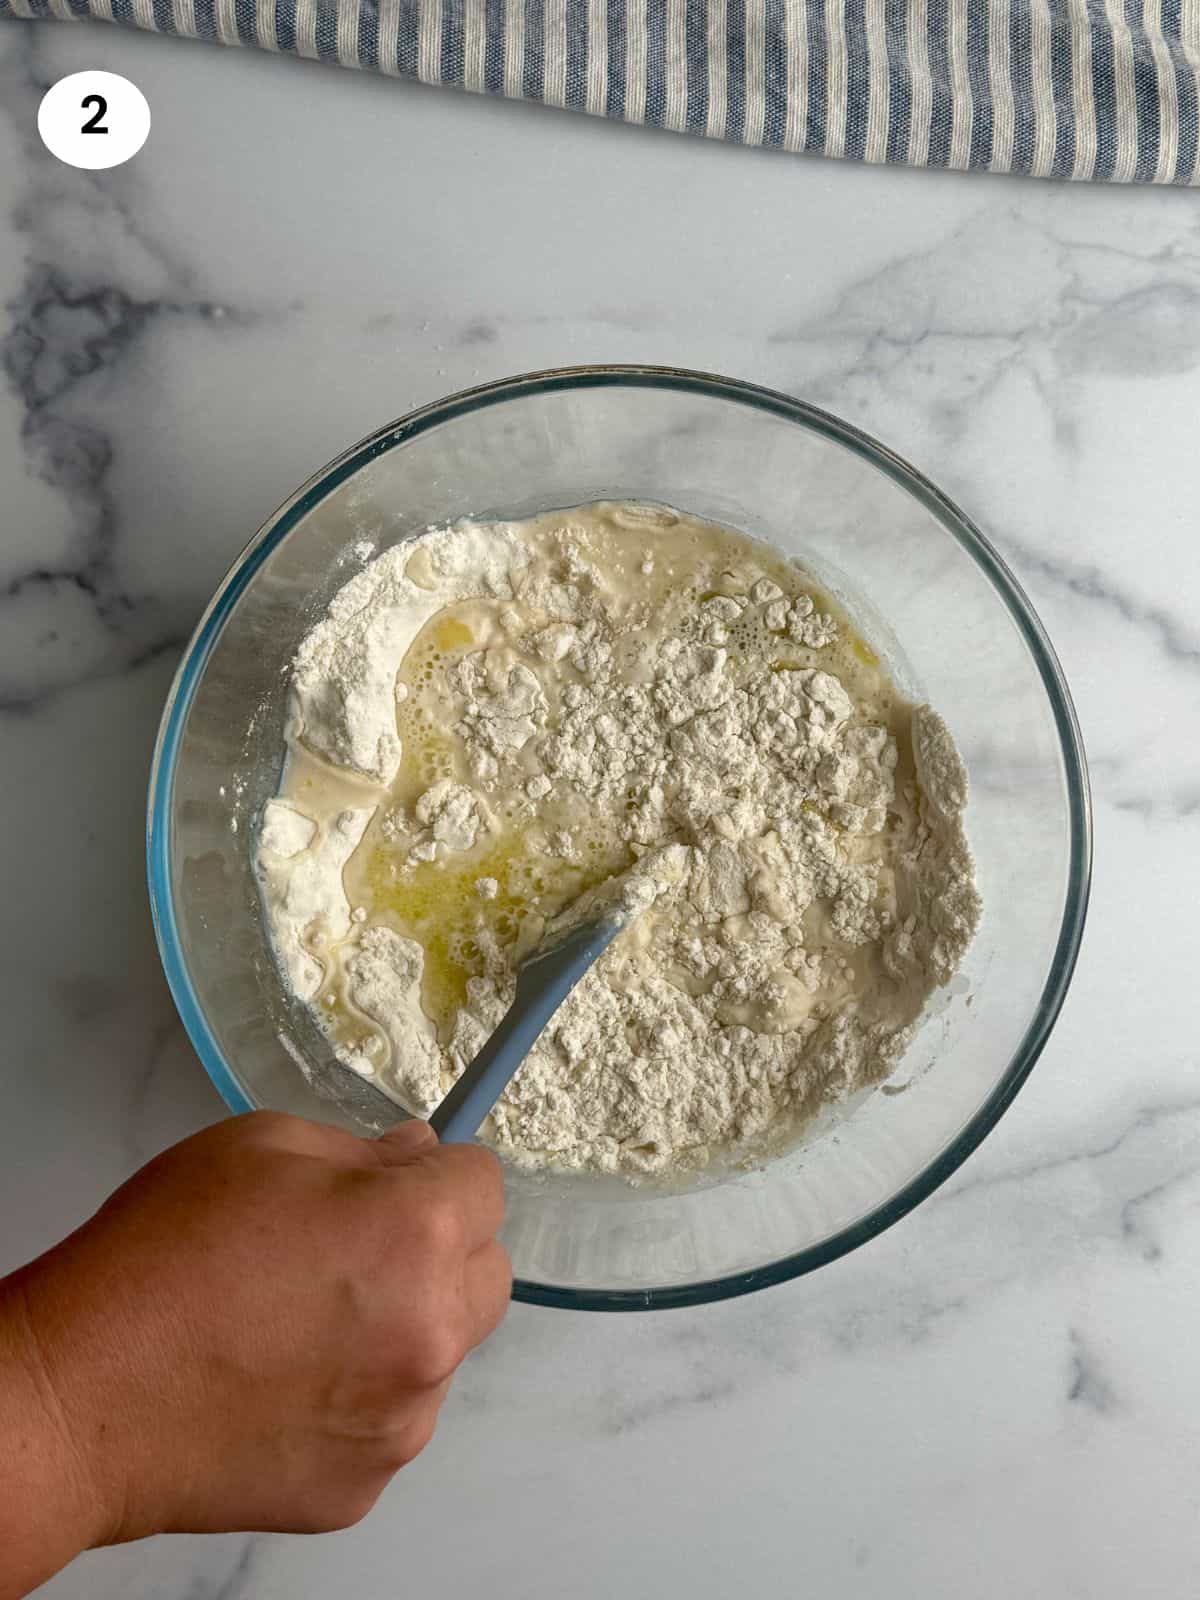
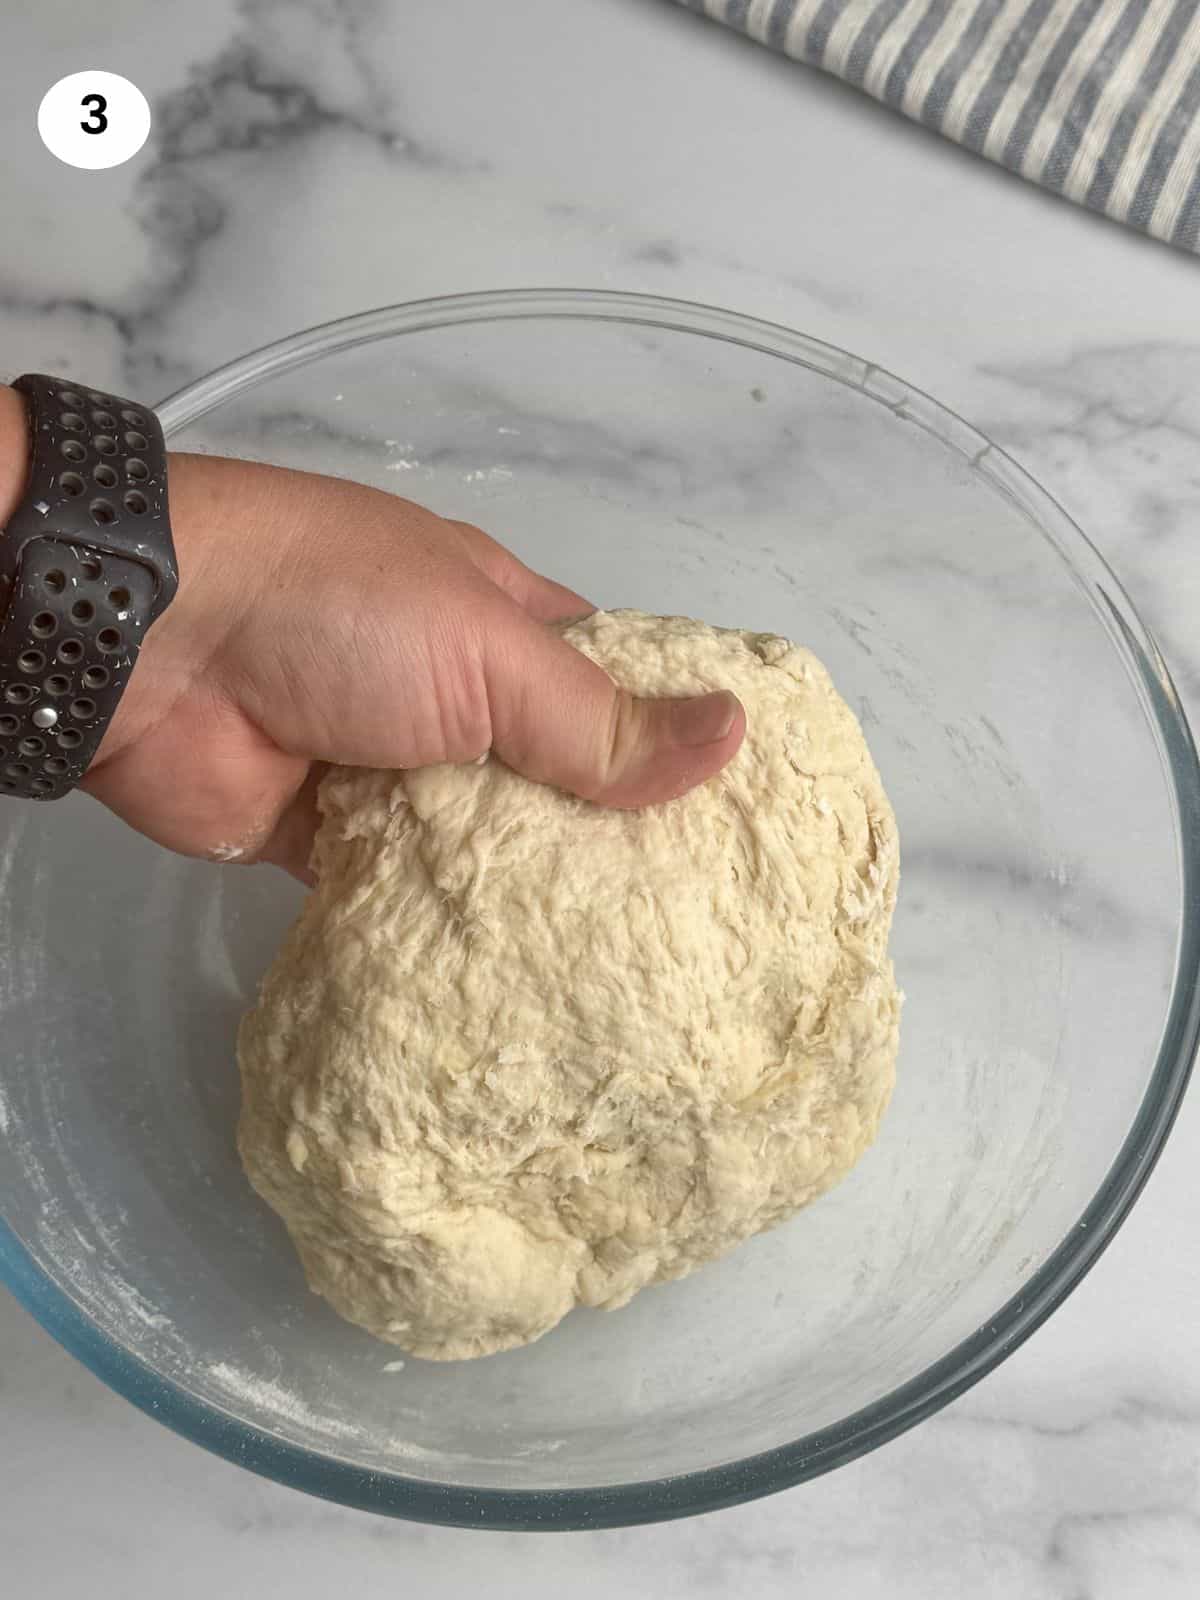
03. I start mixing everything with a spatula and then switch to using my hands, pressing and moving the dough around for a couple of minutes until all the flour is absorbed.
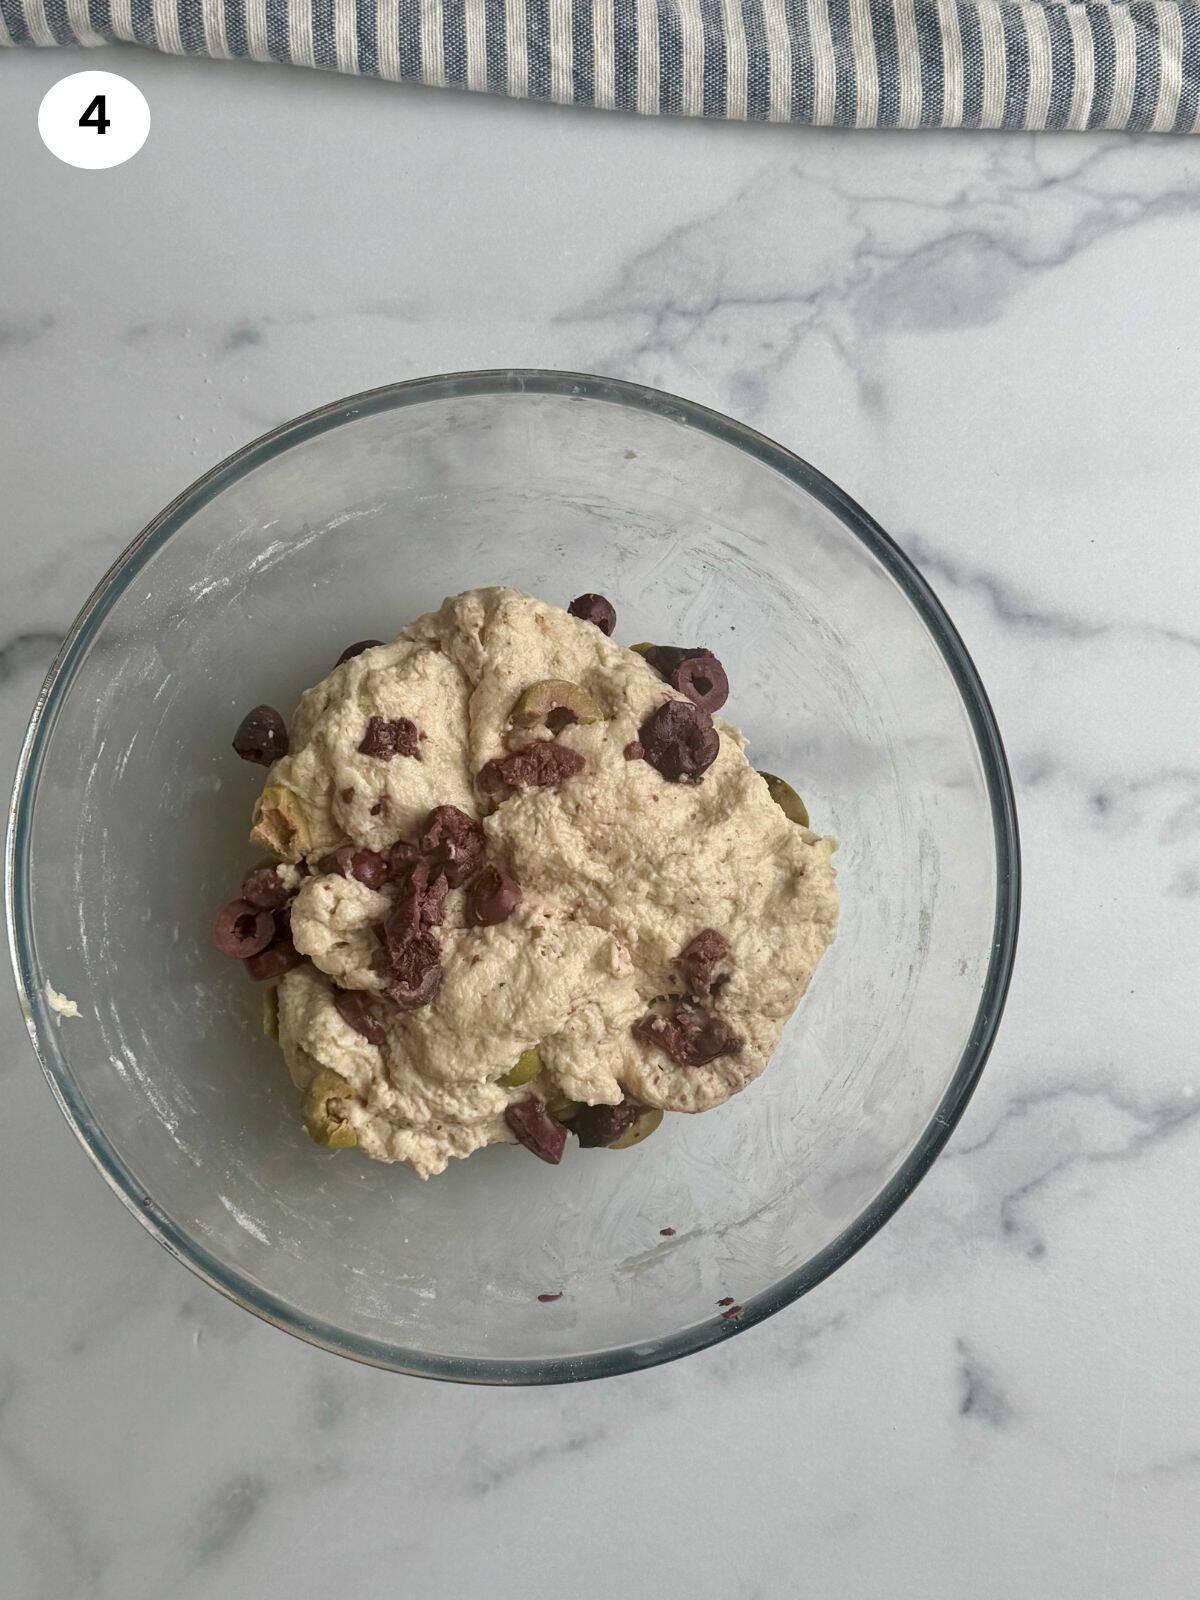
04. Then I add the chopped olives and give it another mix just to distribute them. Don’t worry if they’re not evenly spread. After the dough rises overnight, we’ll stretch and fold it, and the olives will blend in better.
05. I cover the bowl with cling film and a tea towel and leave it in a warm area of my kitchen for at least 12 hours. I like to get it ready in the late afternoon and then leave it to rise all night.
06. On the next day, you will see lots of bubbles at the top and the dough will be about double the size, covering all the bowl surface.


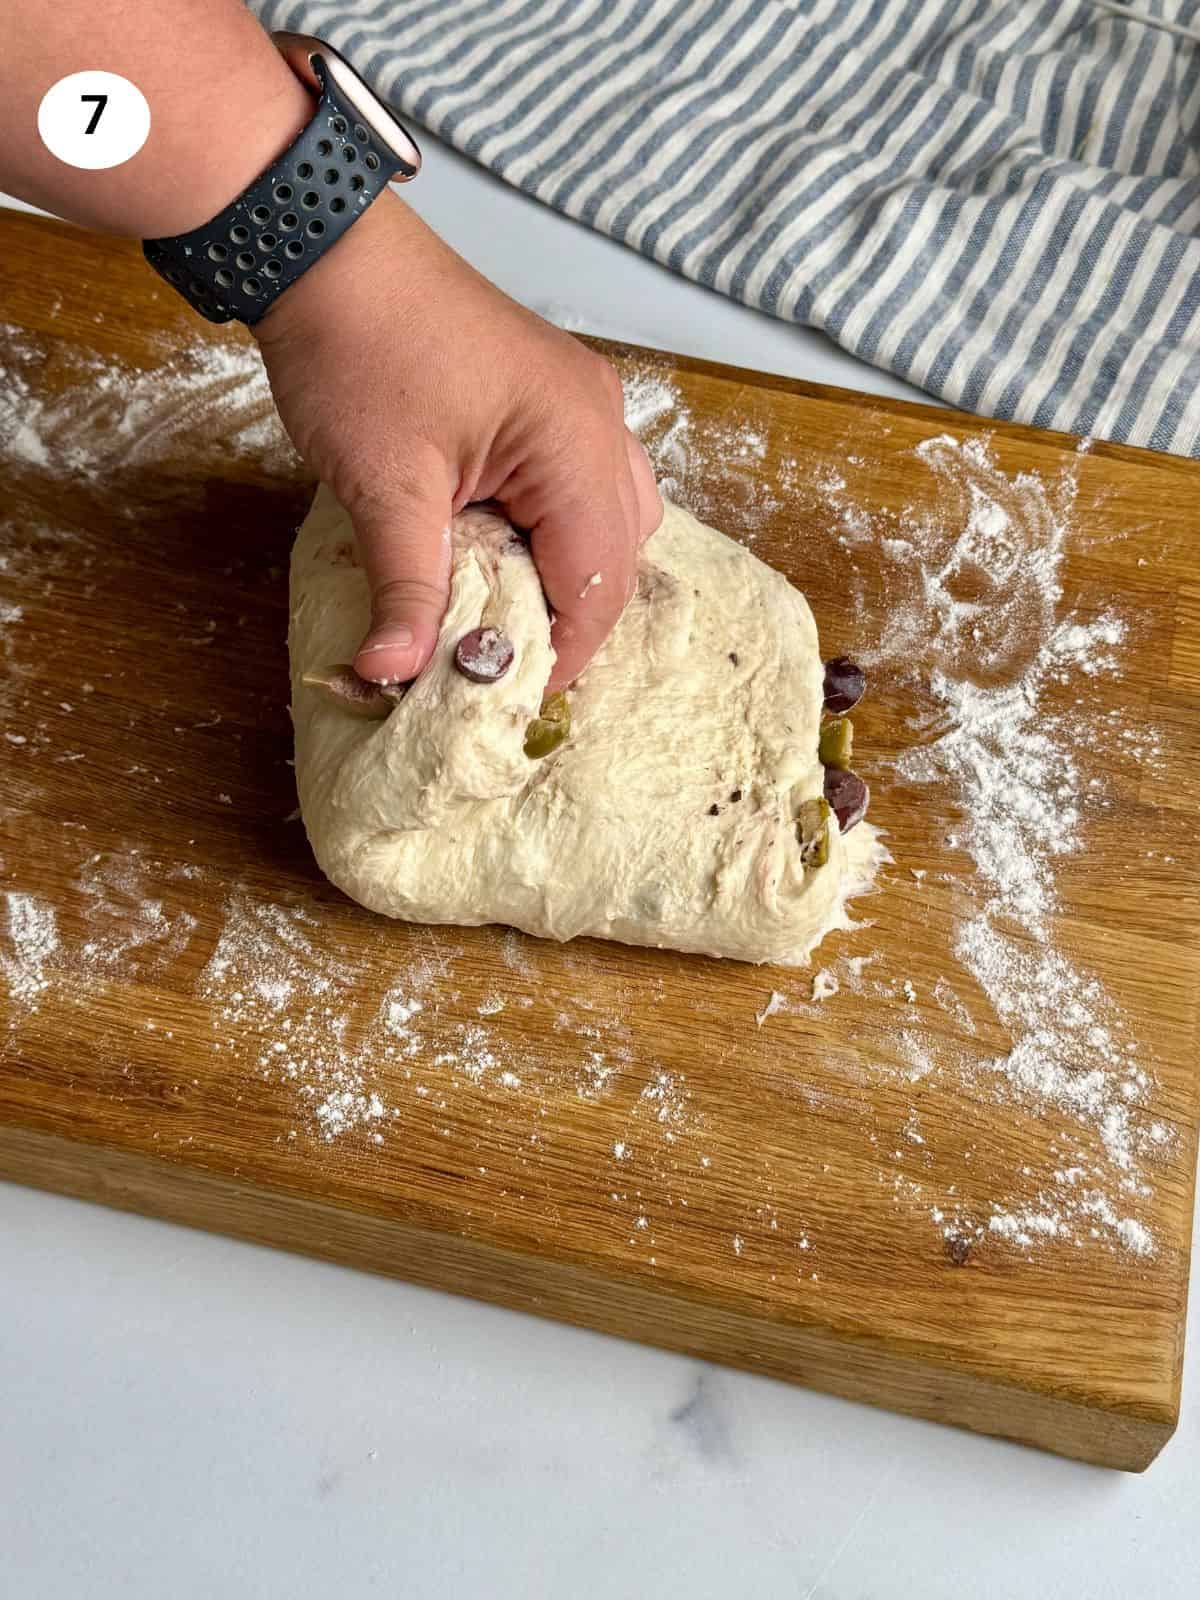
07. I dust my surface with flour and place the dough on top. Then I stretch it vertically and fold it upwards. After rotating it, I stretch and fold it once more. Using my dough scraper, I shape it into a ball, keeping all the folds tucked underneath.
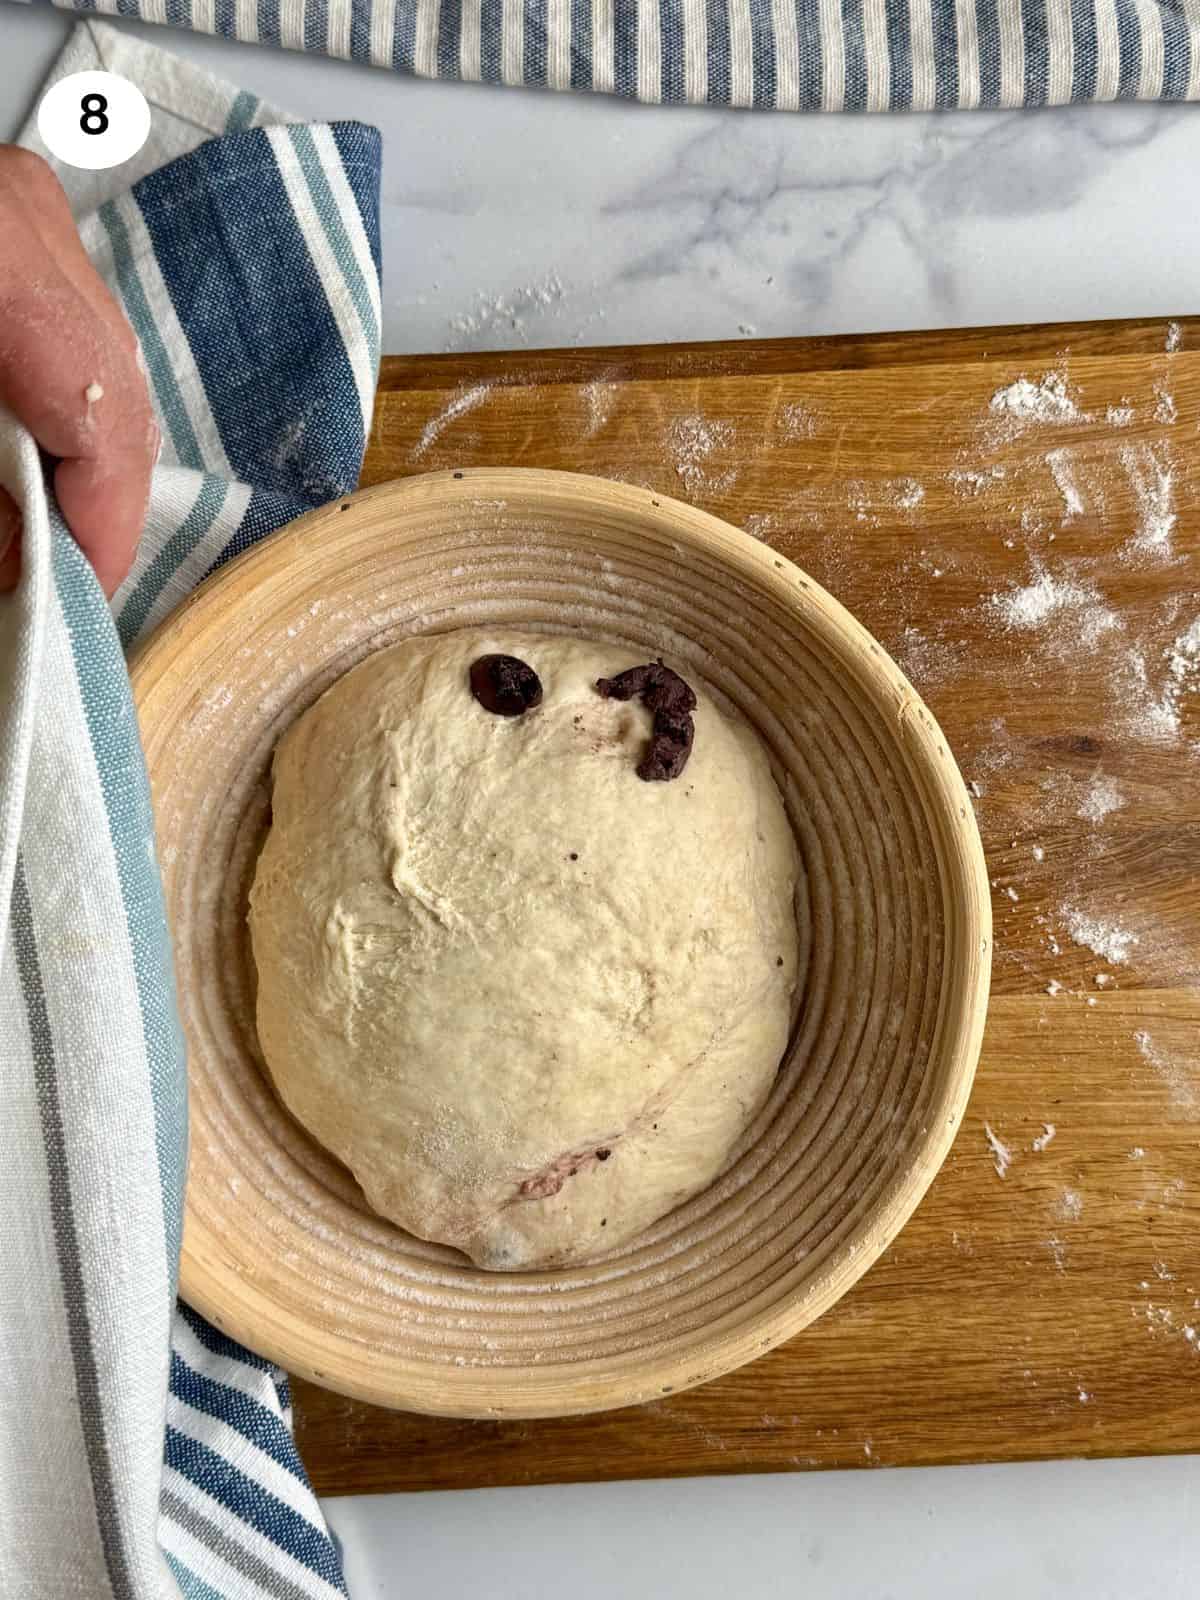
08. For the second rise, I place the dough in a lightly floured bread-rising basket. I cover it with a towel and let it rest for 45–60 minutes. If you don’t have a bread-rising basket, you can also use parchment paper. Simply place the shaped dough on a sheet of parchment paper dusted with flour.
Mamazilla's Product Recommendations
This dutch oven is perfect for baking bread, comes with silicon baking mat for placing and lifting the bread out easily and is big enough for a big loaf bread.
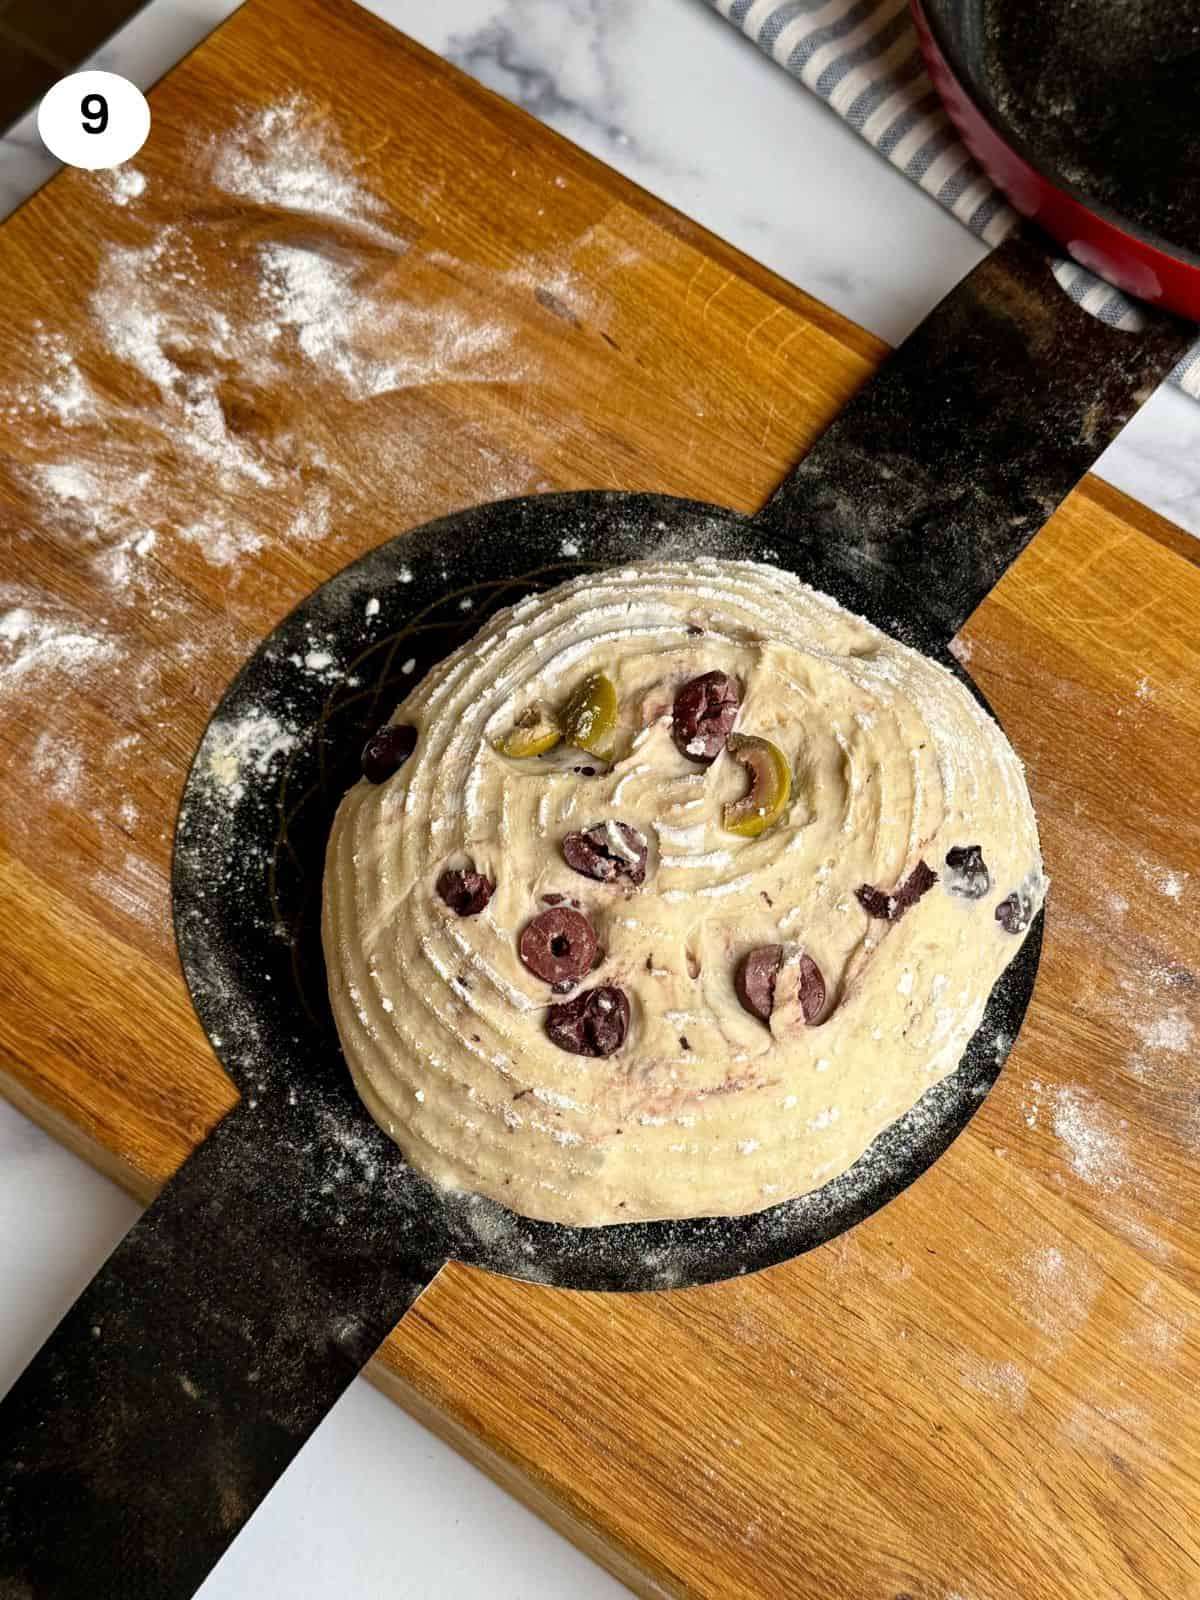
Buy On Amazon09. Now that the dough has rested again for the second time, I turn it upside down on top of my silicon base that goes in the dutch oven for bread or on the parchment paper if you don’t have one. I score the bread with a sharp knife or a blade.
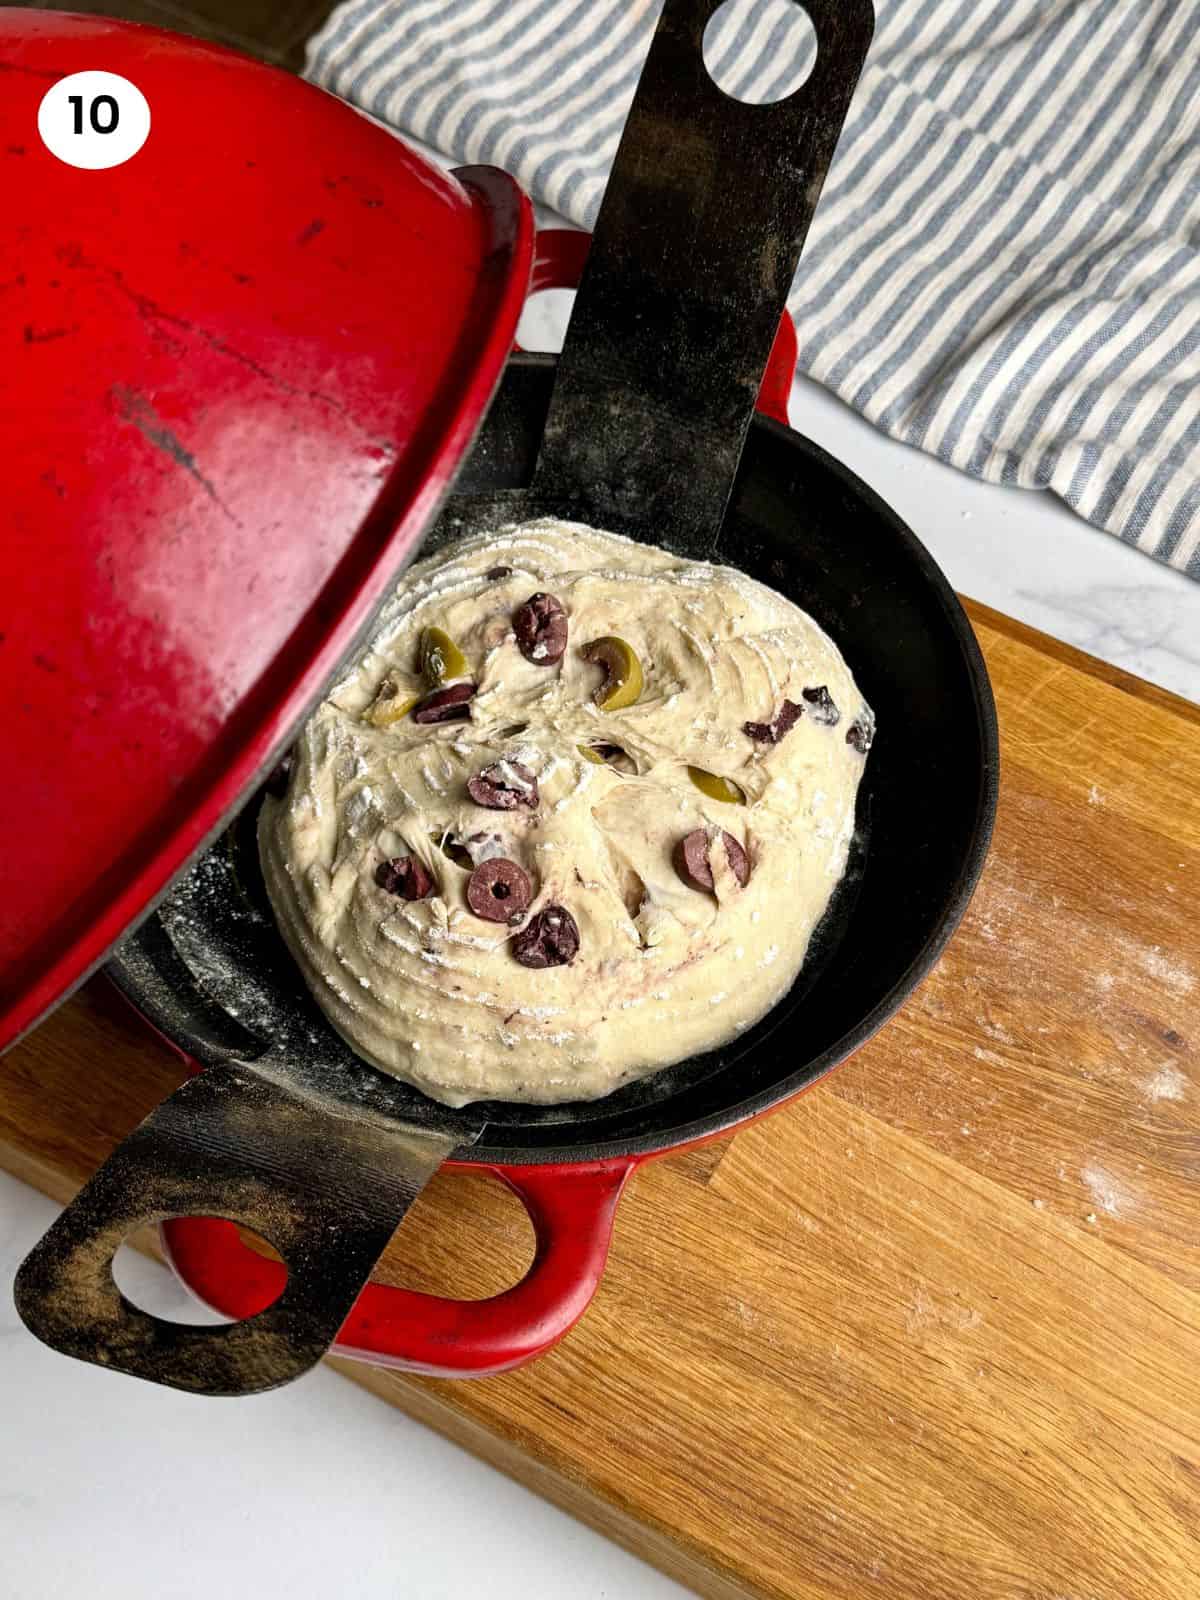
10. I place the silicon base or parchment paper in my dutch oven for bread and cover it with the lid. It’s important to preheat the oven well to 425°F (220°C). Some people like to preheat the Dutch oven too, but I prefer placing the bread in a cold pot and baking it for a little longer compared to using a preheated one.
Tips
- Cover the bowl well with cling film and then with a towel to keep the moisture inside, and let it rise for several hours in a warm area.
- Don’t overwork the dough on the next day after the first rise.
- Use parchment paper or a silicon base to avoid sticking to the bottom of the Dutch oven.
- Use bread flour or a flour with high protein content.
Serving suggestions
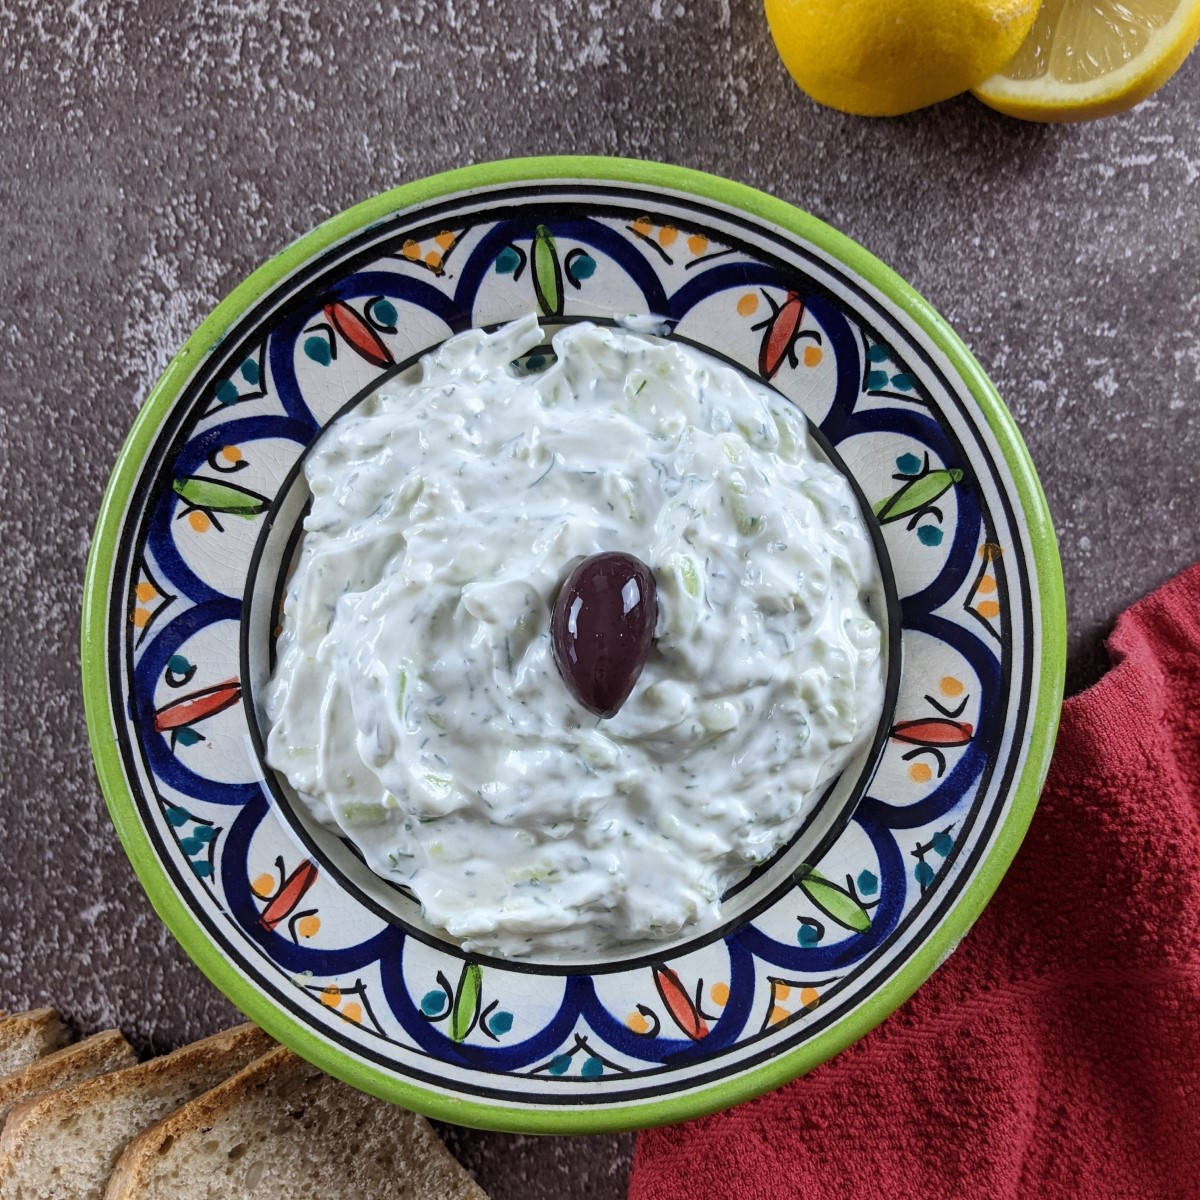
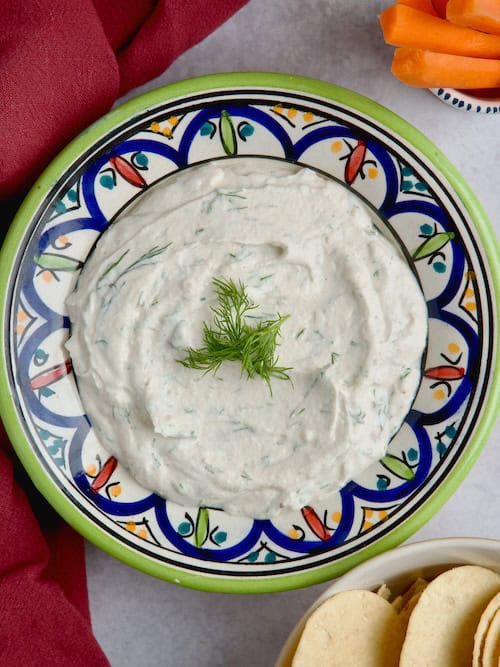
This Greek olive bread is delicious on its own, but we also love serving it with dips like tzatziki or tyrokafteri (spicy feta dip). It’s also great for breakfast with eggs or Greek tomato & eggs, and pairs beautifully with a mezze platter or a charcuterie board. So versatile!

Storage
To keep it fresh, I like to store homemade bread loaves in bread bags or bread bins to prevent them from drying out. You could also wrap the bread in a breathable cotton towel. If you’re not planning to consume the olive bread within 3–4 days, store it in the freezer as soon as it cools down. Thaw it overnight, and it will taste just like freshly baked.
FAQ
Yes, you could use a combination of bread flour and whole wheat flour. I recommend using a ratio of 1:3 of wheat to bread flour so you don't get a very dense bread.
Some herbs that go well in olive bread are oregano and rosemary. You could also use a dried mix of herbs or Italian seasoning.
If you tried my Easy Greek Olive Bread (No Knead) or any other recipe on my website, please leave a 🌟 star rating and let me know how it went in the 📝 comments below. I love hearing from you!
Recipe
Easy Greek Olive Bread (No Knead)
This Greek olive bread is so easy to prepare and requires no kneading. You simply mix the ingredients and let them sit overnight, allowing the yeast to do all the work. A delicious bread, crispy on the outside and soft in the middle, that you could serve with your meal, dip in salads, or serve next to a cheese charcuterie board. Enjoy!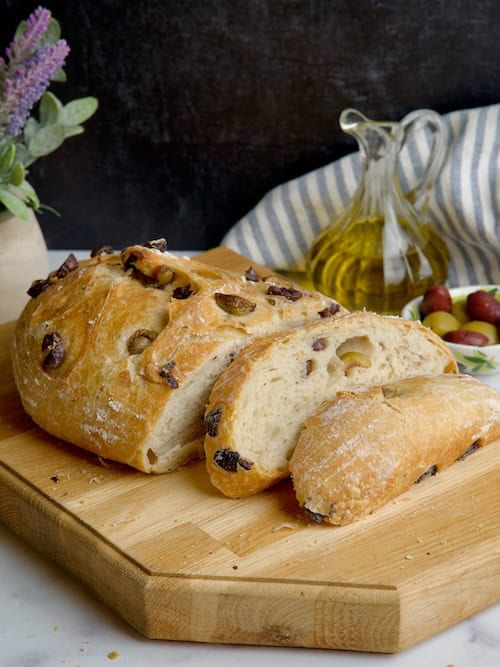
20 slices
10 minutes
Ingredients
- 3 ⅔ cups (450gr) bread flour
- 1 teaspoon (3.5gr) dry instant yeast
- 1 teaspoon (6gr) salt
- 2 tablespoons olive oil
- 1 ¼ cups (300ml) water (at room temperature)
- 1 cup (110gr)olives chopped
Equipment
- dutch oven for bread (paid link)
Instructions
- In a bowl, add the flour and yeast and mix them well. Then add the salt, olive oil and water.
- Start mixing everything with your hands or a spatula until all the flour is incorporated.
- Add the chopped olives and mix to combine.
- Cover the bowl with cling film and cover with a towel or blanket. Leave it to rest in a warm corner of the kitchen for at least 12 hours.
- Remove the cling film and place the dough on a lightly floured surface.
- Stretch the dough vertically and roll and fold upwards. Turn it around and repeat the stretching and folding one more time.
- Shape the dough into a round shape keeping all the folded bits under.
- Dust some parchment paper or a bread rising basket with flour and place the dough. Cover with a towel and let it rise again for 45-60 minutes.
- Preheat the oven to 425F / 220C.
- Turn the dough loaf upside down on the parchment paper or a silicon base. Score it with a sharp knife or razor blade.
- Place the dough with the parchment paper or silicon base inside the dutch oven and cover with the lid. Carefully place in the preheated oven and bake for 40 minutes. Uncover and bake for 10-15 minutes until you have a nice brown crust.
- Let it cool down for 30 minutes before cutting it.
Notes
You can use a high protein flour or bread flour of your choice.
- You could use kalamata olives or a mix of kalamata and green olives.
Storage
Store it in a bread bin or bread bags to keep it fresh for up to 3-4 days.
Nutrition Info (per serving)
I am not a nutritionist. The nutrition information has been calculated using an on-line calculator, and is intended for information and guidance purposes only. If the nutrition information is important to you, you should consider calculating it yourself, using your preferred tool.










Julia
I really enjoyed creating this recipe and post for you, and I hope you try my olive bread and love it as much as I do. I’d be so happy if you left a comment and shared your feedback with a star rating too!