This year I’ve decided to make a New Year’s sweet bread instead of the usual vasilopita cake that I make every year. This Greek sweet bread, similar to brioche, demands a lot of kneading. Given that I got a stand mixer a few months ago, I figured it’s the perfect opportunity to try something new.
Similar to the vasilopita cake, this Greek sweet bread has a special aroma and flavor coming from the orange juice & zest and the spices, mahlepi and mastiha tears. You can find the last two in stores with European or Middle East food or online. I highly encourage you to use at least the mahlepi as it gives the tsoureki (sweet bread) a unique flavor.
Making the Vasilopita sweet bread is not as complicated as one might think, especially if you have a stand mixer. All you need to do is follow my steps when mixing the ingredients and a lot of patience as the dough undergoes the proofing process.
Jump to:
Why you should try my recipe
- Step-by-step instructions with photos on how to make the best New Year’s sweet bread.
- Big enough for a family. Could serve up to 12 people.
- Great flavor and full of aromas of Greek sweet bread.
- Stays soft and fresh for 2-3 days.
- Different ideas on how to decorate it for New Years.
Vasilopita lucky coin
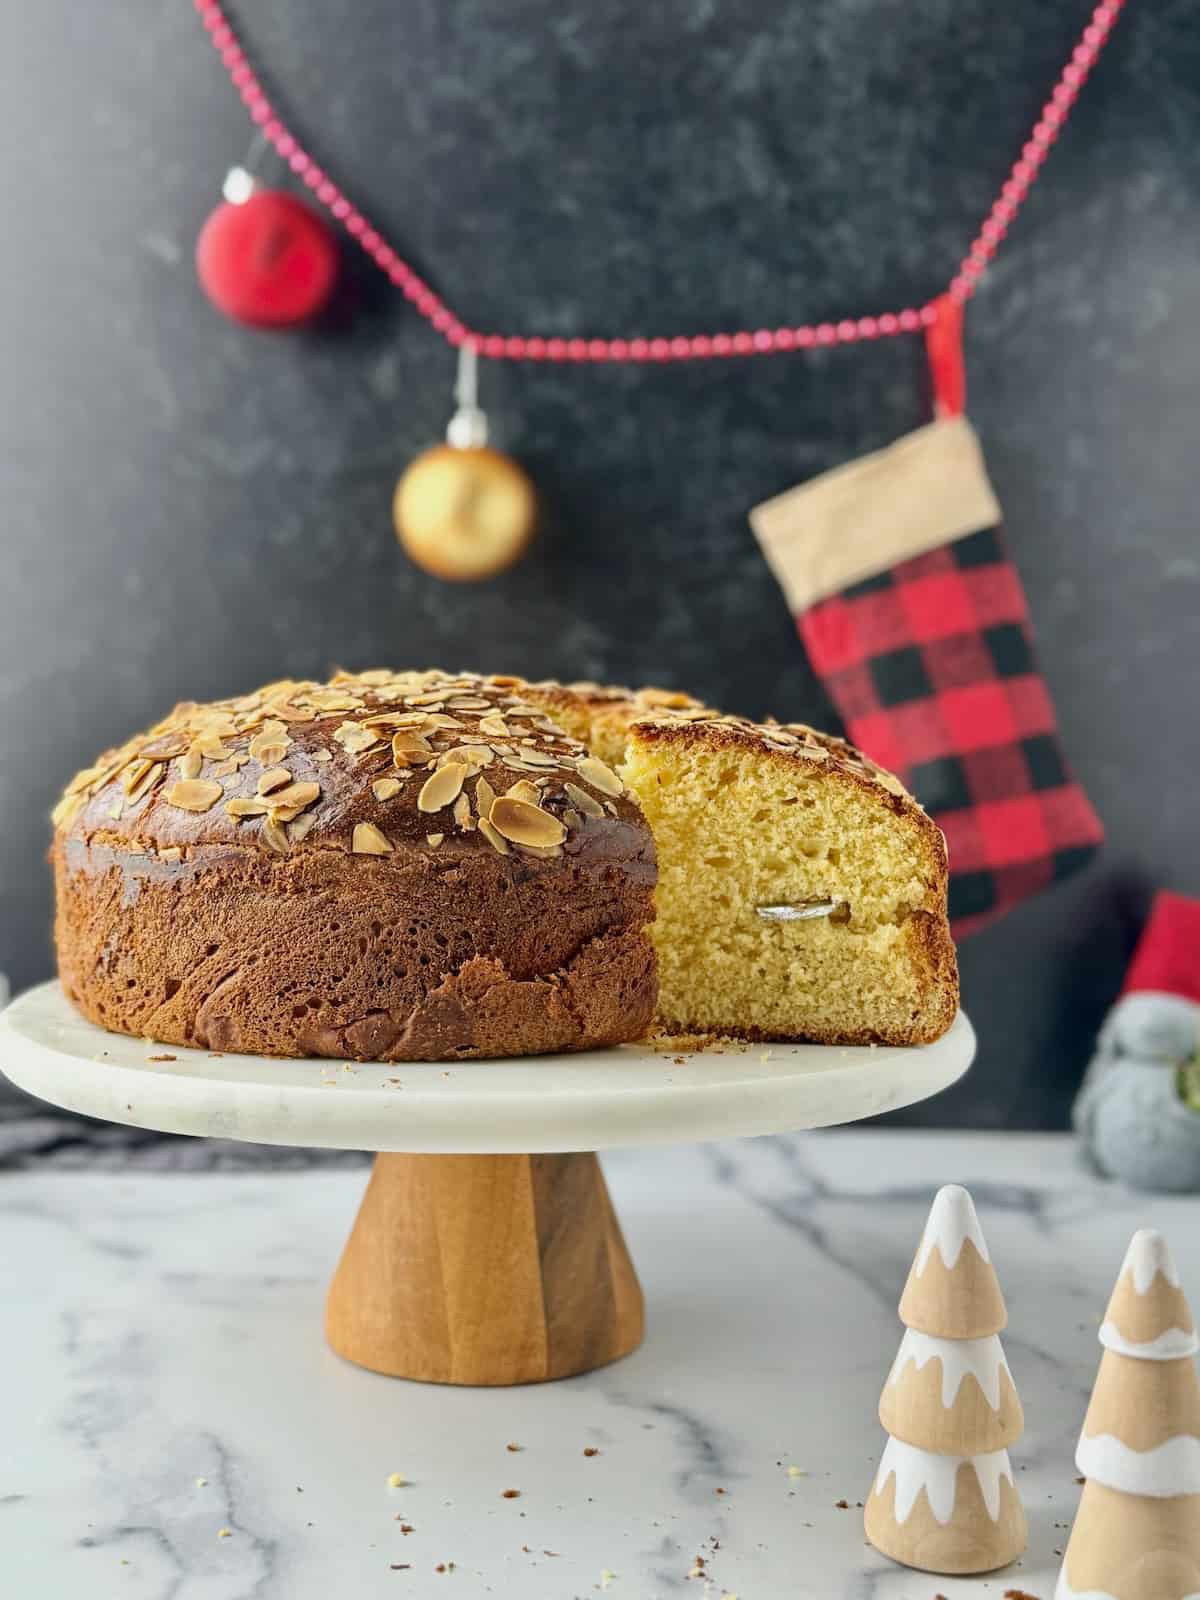
The Greek New Year sweet bread isn’t just your typical dessert brioche. We incorporate a unique tradition by hiding a coin inside—finding it promises good luck for the entire year. Typically, we wrap a silver coin in kitchen foil and incorporate it into the bread either before or after baking. In the past, some families even used valuable golden coins, adding an extra layer of luck and a tangible treasure for the fortunate recipient.
When it comes to slice the New Year’s bread, the main host of the house usually takes on the role of the cutter. The initial piece is dedicated to Christ, while the second represents the household. Following these symbolic cuts, we proceed to slice a piece for each family member.
Ingredients & How-to
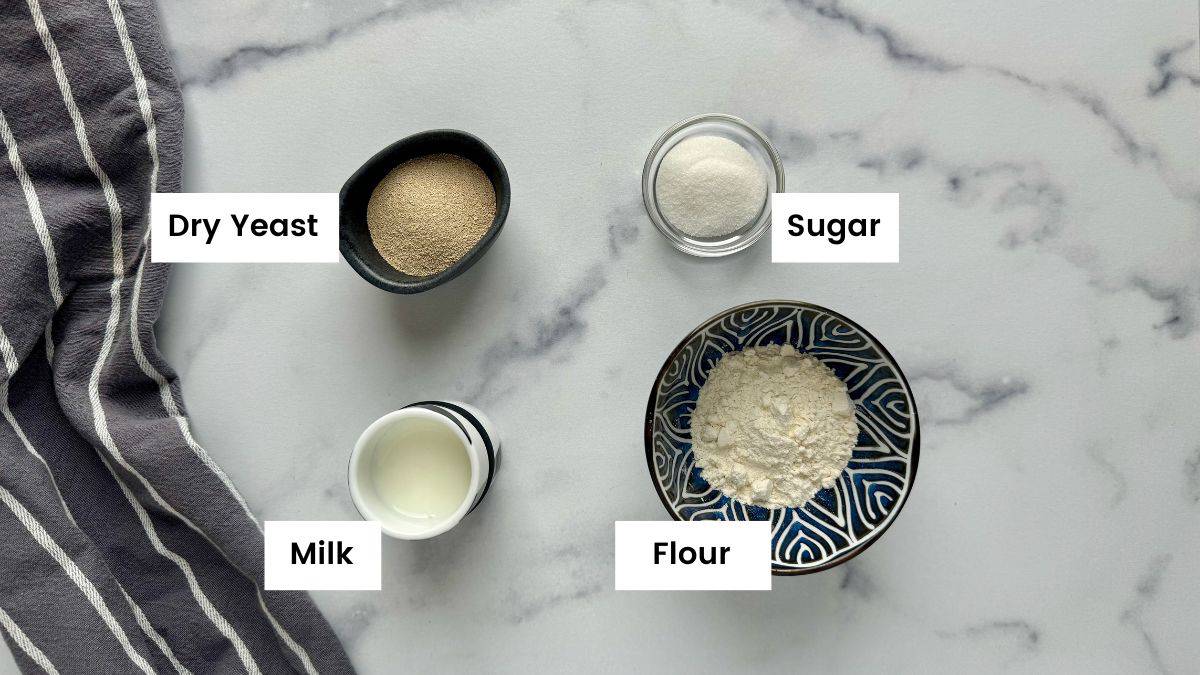
To make this Greek New Year’s Sweet Bread, you will need dry yeast, sugar, milk, flour, eggs, orange (juice & zest), butter, salt, mahlepi and mastiha tears. All the ingredients need to be at room temperature, so make sure you take the eggs, orange, milk and butter out of the fridge half an hour before you start making the vasilopita bread. The last two ingredients, mahlepi and mastic, are the ones that give the Greek sweet bread its unique aroma and flavor compared to classic brioche. While you can omit them and still enjoy a delightful sweet bread, I strongly encourage going the extra mile and acquiring these ingredients for an authentic vasilopita flavor.
Mastic usually comes in little kernels when I buy it, so there are a couple of ways to grind it at home. One way is using a pestle and mortar, where you add 6-7 mastic kernels and a teaspoon of sugar, and then turn it into powder. If you have a spice grinder then you could add the mastiha tears with a teaspoon of sugar and give it a few spins until it gets into powder. Lastly, if you don’t have any of those tools, you could simply use a small plastic bag for food storage. Add the mastic kernels and a teaspoon of sugar, then place a tea towel on top of the bag and hit it gently with a rolling pin or a meat tenderizer hammer.

Mamazilla's Product Recommendations
Great aroma and enough mastiha tears for 5-6 recipes since you'll only need a little bit each time.
Buy On Amazon01. To start, I’m working with the yeast. I’m using active dry yeast that is easy to find in most grocery stores. In a bowl, I add the yeast, one tablespoon of sugar, four tablespoons of milk and two tablespoons of all-purpose flour. The milk needs to be lukewarm to activate the yeast. That means not too hot but warmer than your body temperature when you dip your hand in. If you have a thermometer, it should be at 105℉–115℉ temperature or 40-45°C.
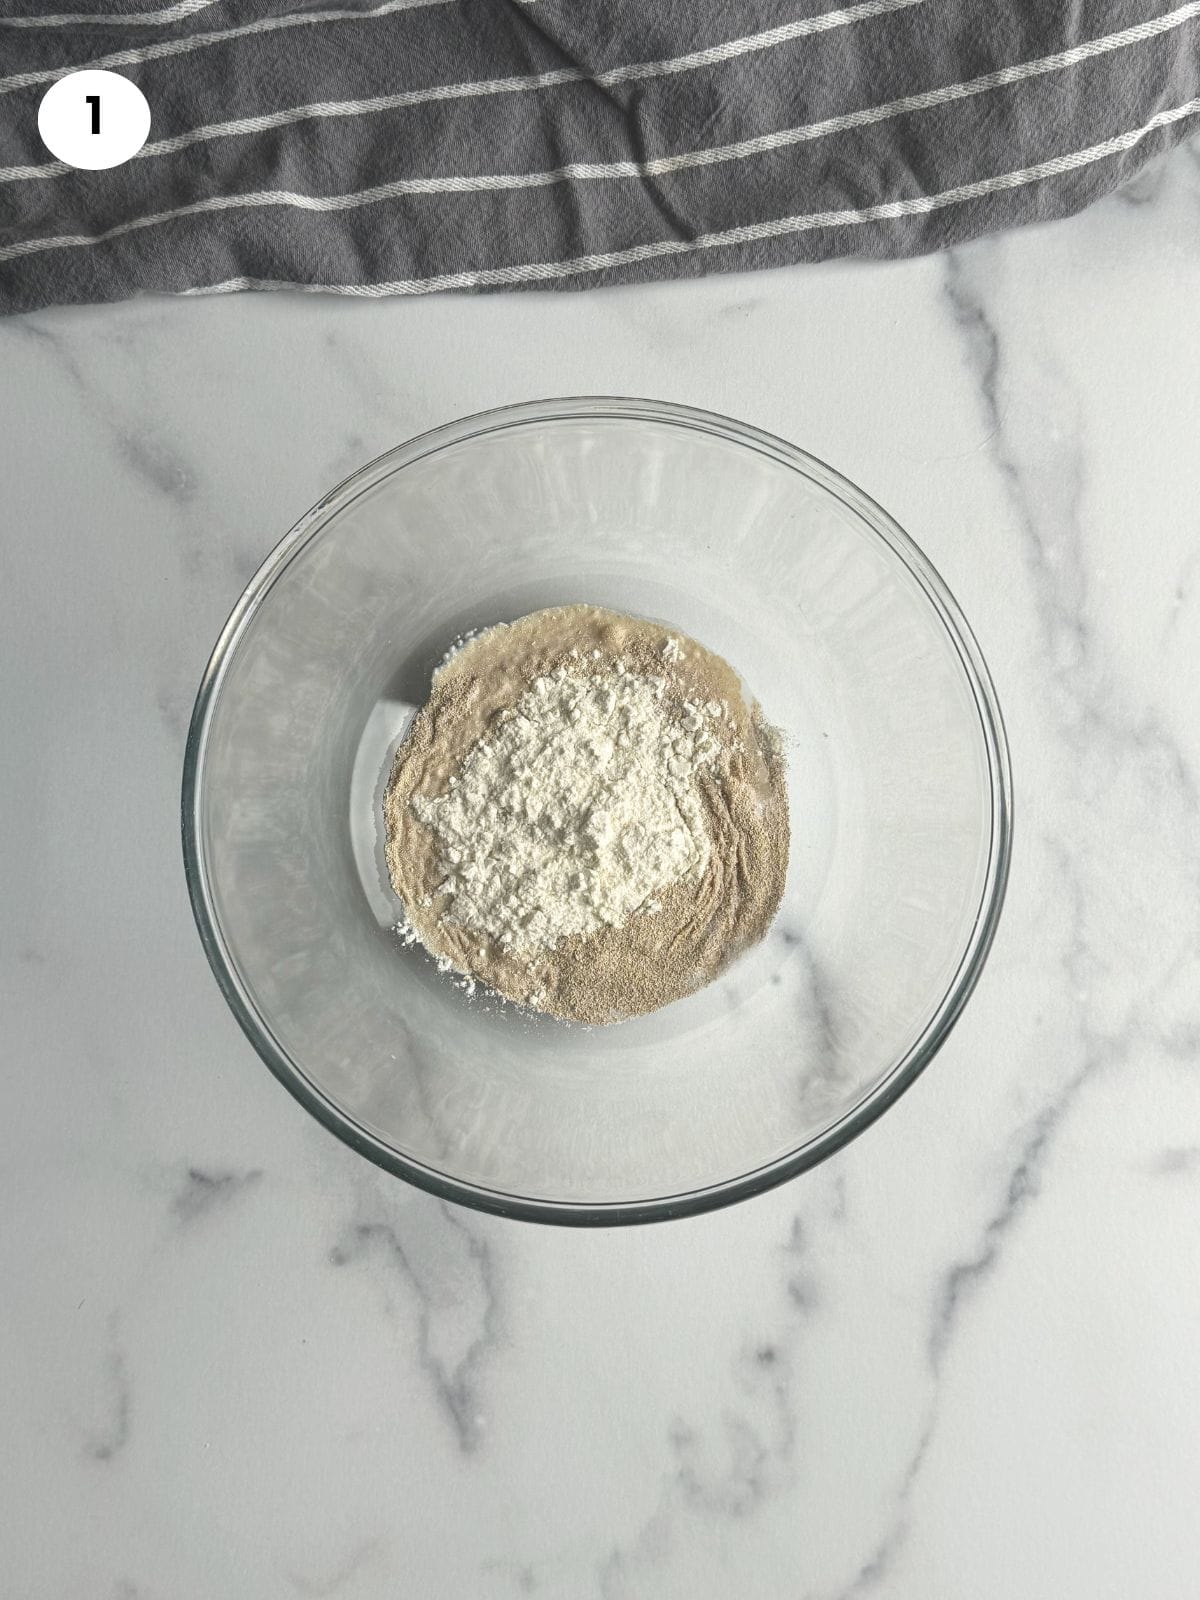
02. I mix everything well and then I cover the bowl with some cling film and wrap it with a towel. I leave it in a warm corner of my kitchen, usually close to the stove, for about 30 minutes. You should then see lots of bubbles at the top and the mixture would have doubled its size. If it hasn’t, that means the yeast is dead and you should start again with a new one.
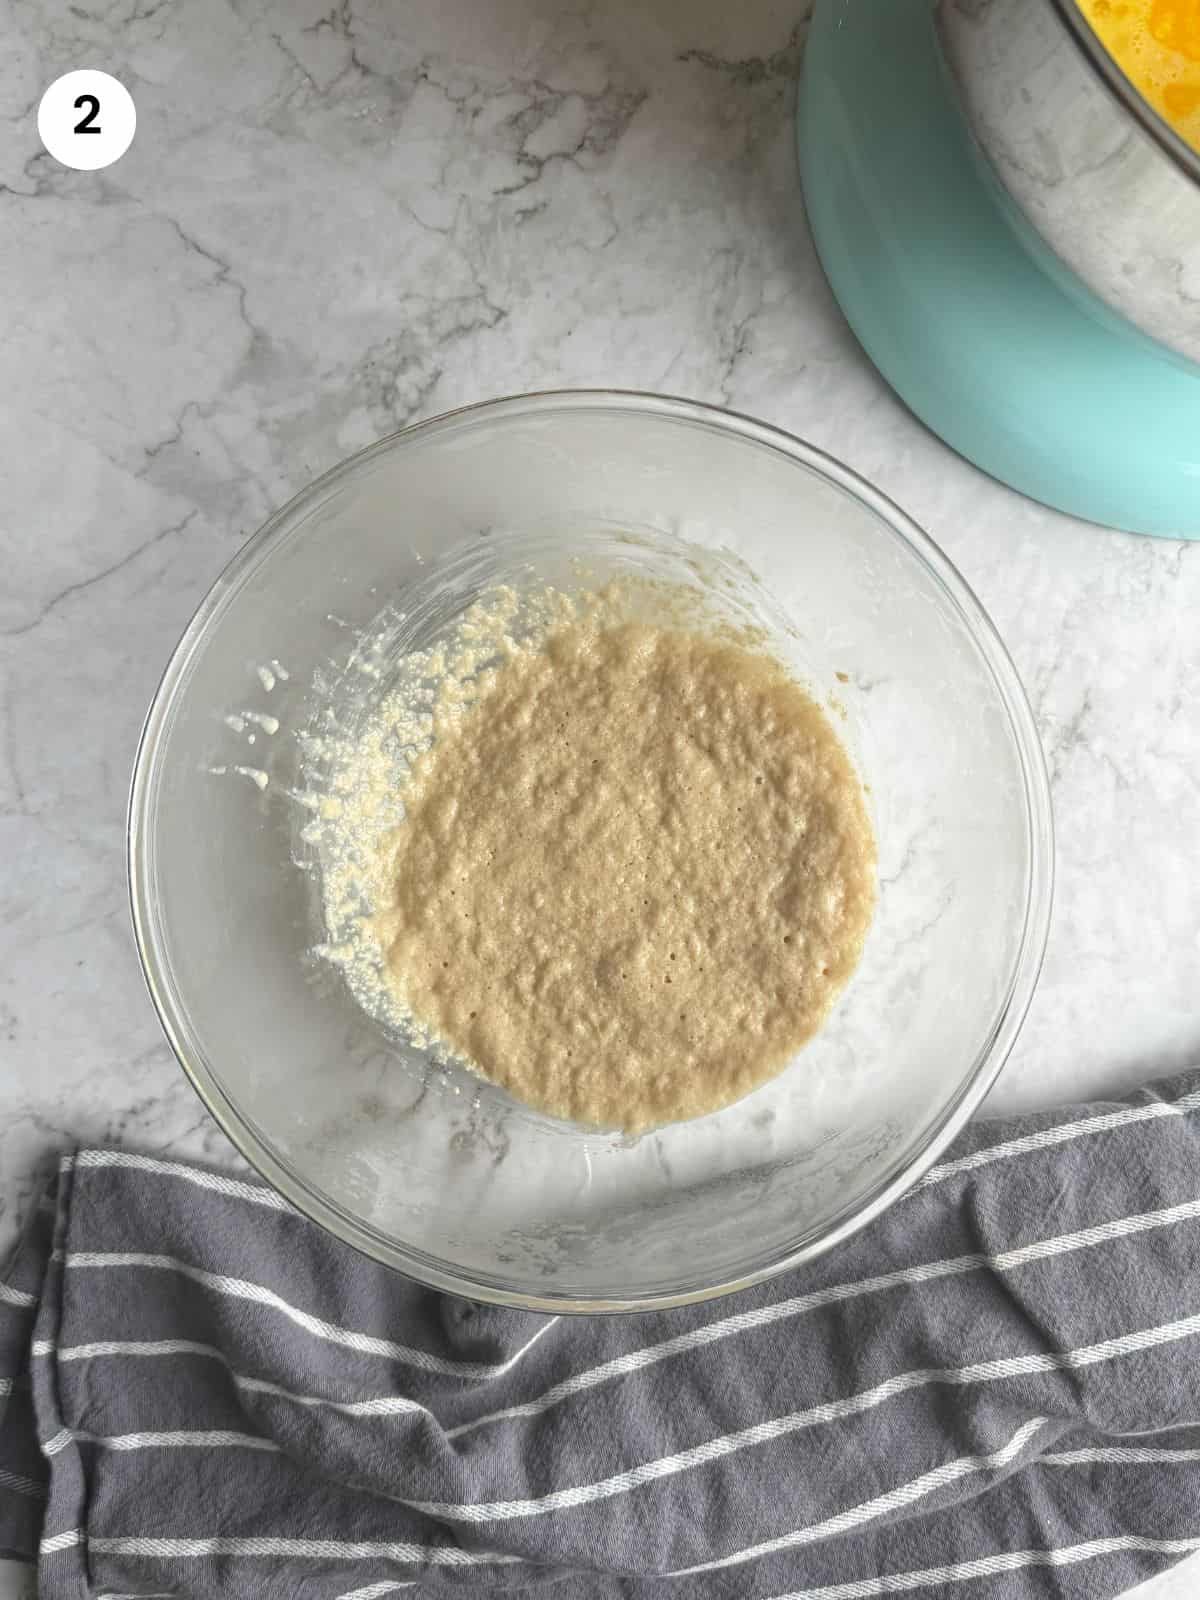
03. Now that the yeast is ready, it’s time to prepare the dough. I’m using a stand mixer to mix my ingredients and knead the dough. Of course, you can try kneading with your hands if you have the strength and energy to do so. In the mixer bowl, I’m adding the eggs(at room temperature), sugar, orange juice and orange zest, and the lukewarm milk. I mix everything well for a minute.
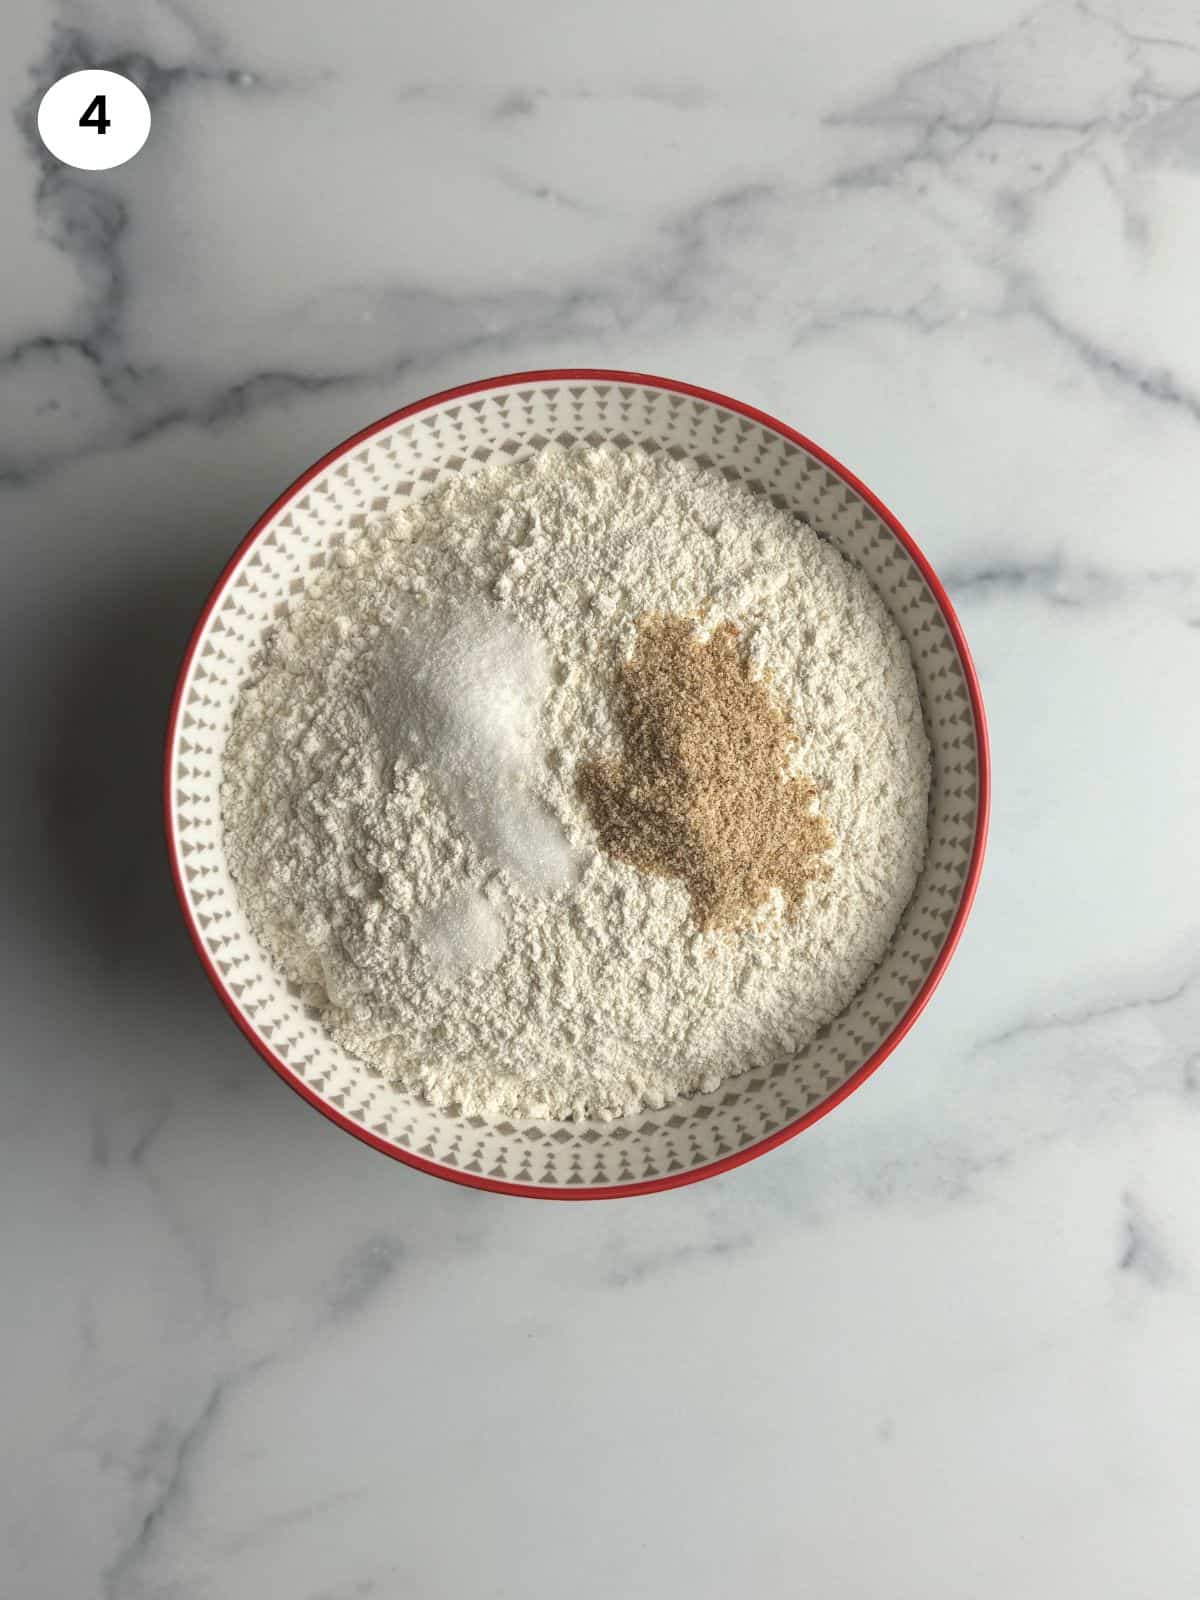
04. In a bowl, I mix the rest of the dry ingredients. The all-purpose flour, the salt, two teaspoons of mahlepi and the mastiha tears powder.
Mamazilla's Product Recommendations
Fresh, great flavor mahlepi or mahlab that you will find in many middle eastern cuisines. I use it a lot for baking sweet bread!
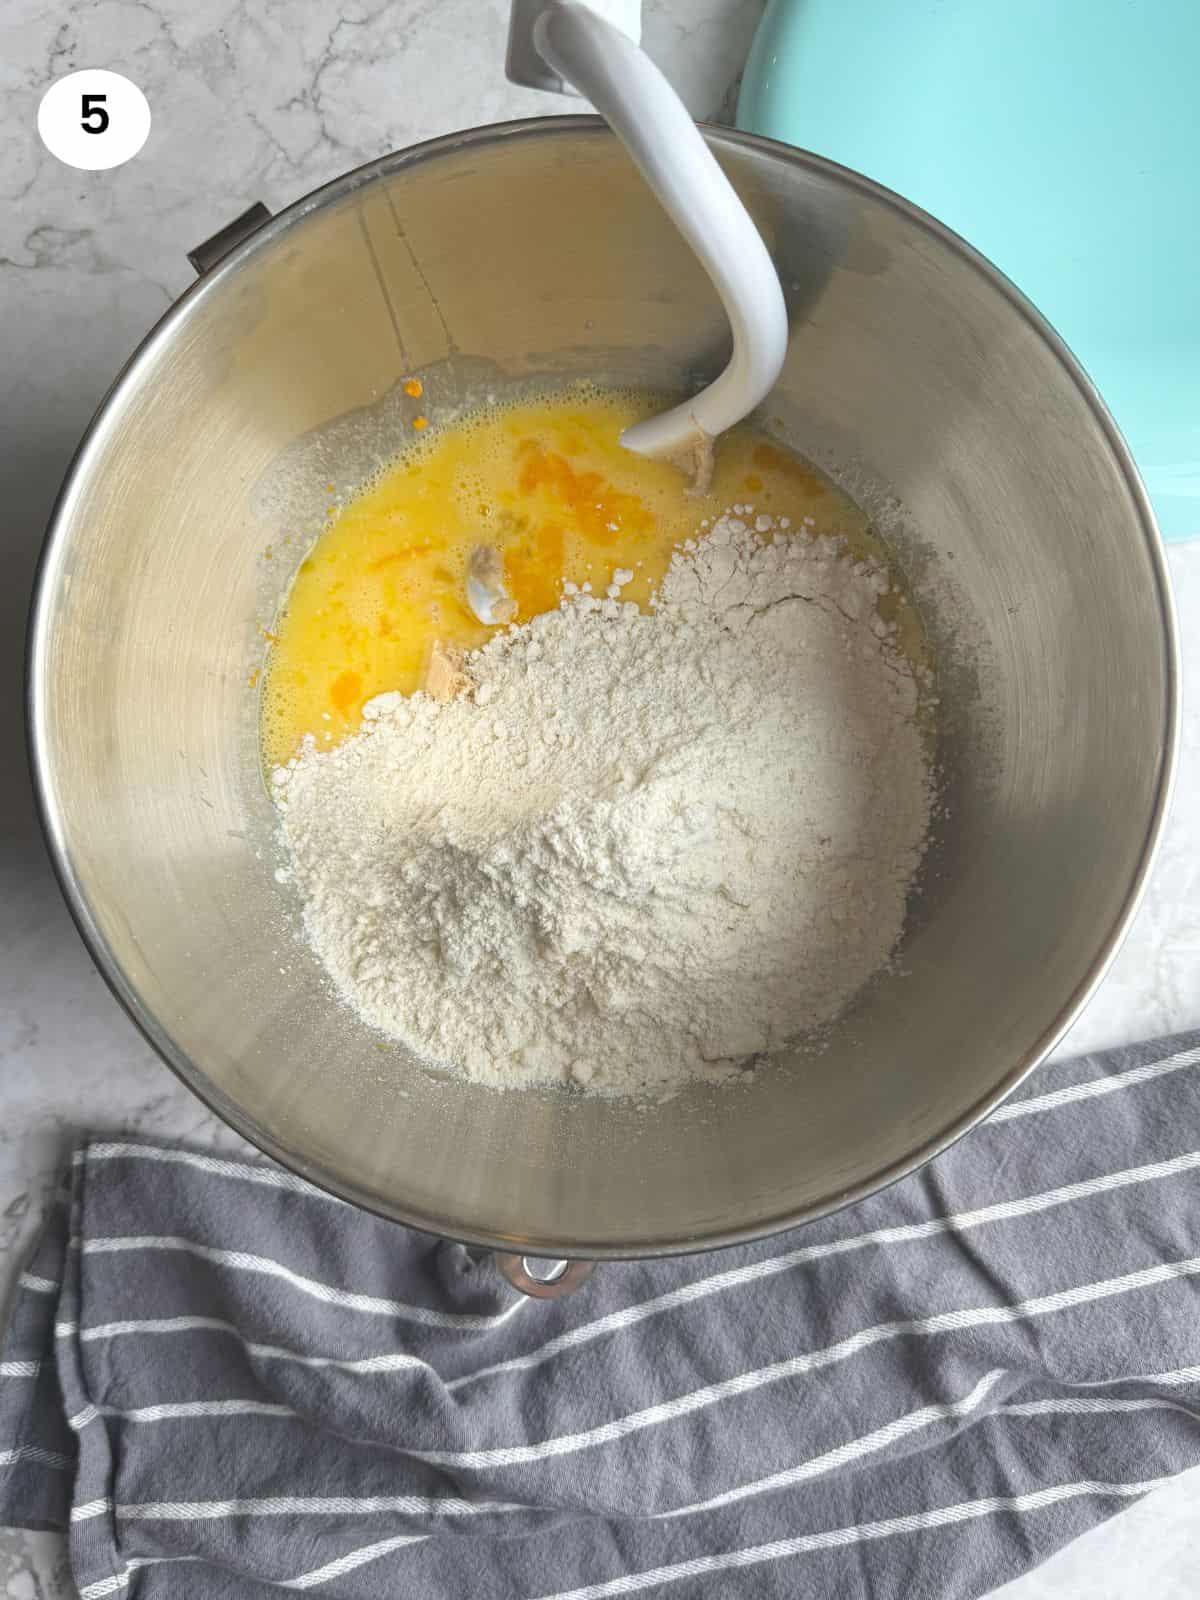
Buy On Amazon05. Now, I add the yeast mixture to the bowl with half of the flour mixture. Using the hook attachment, I give it a few spins until the flour is incorporated. Then I add the remaining of the flour in and continue with the mixing.
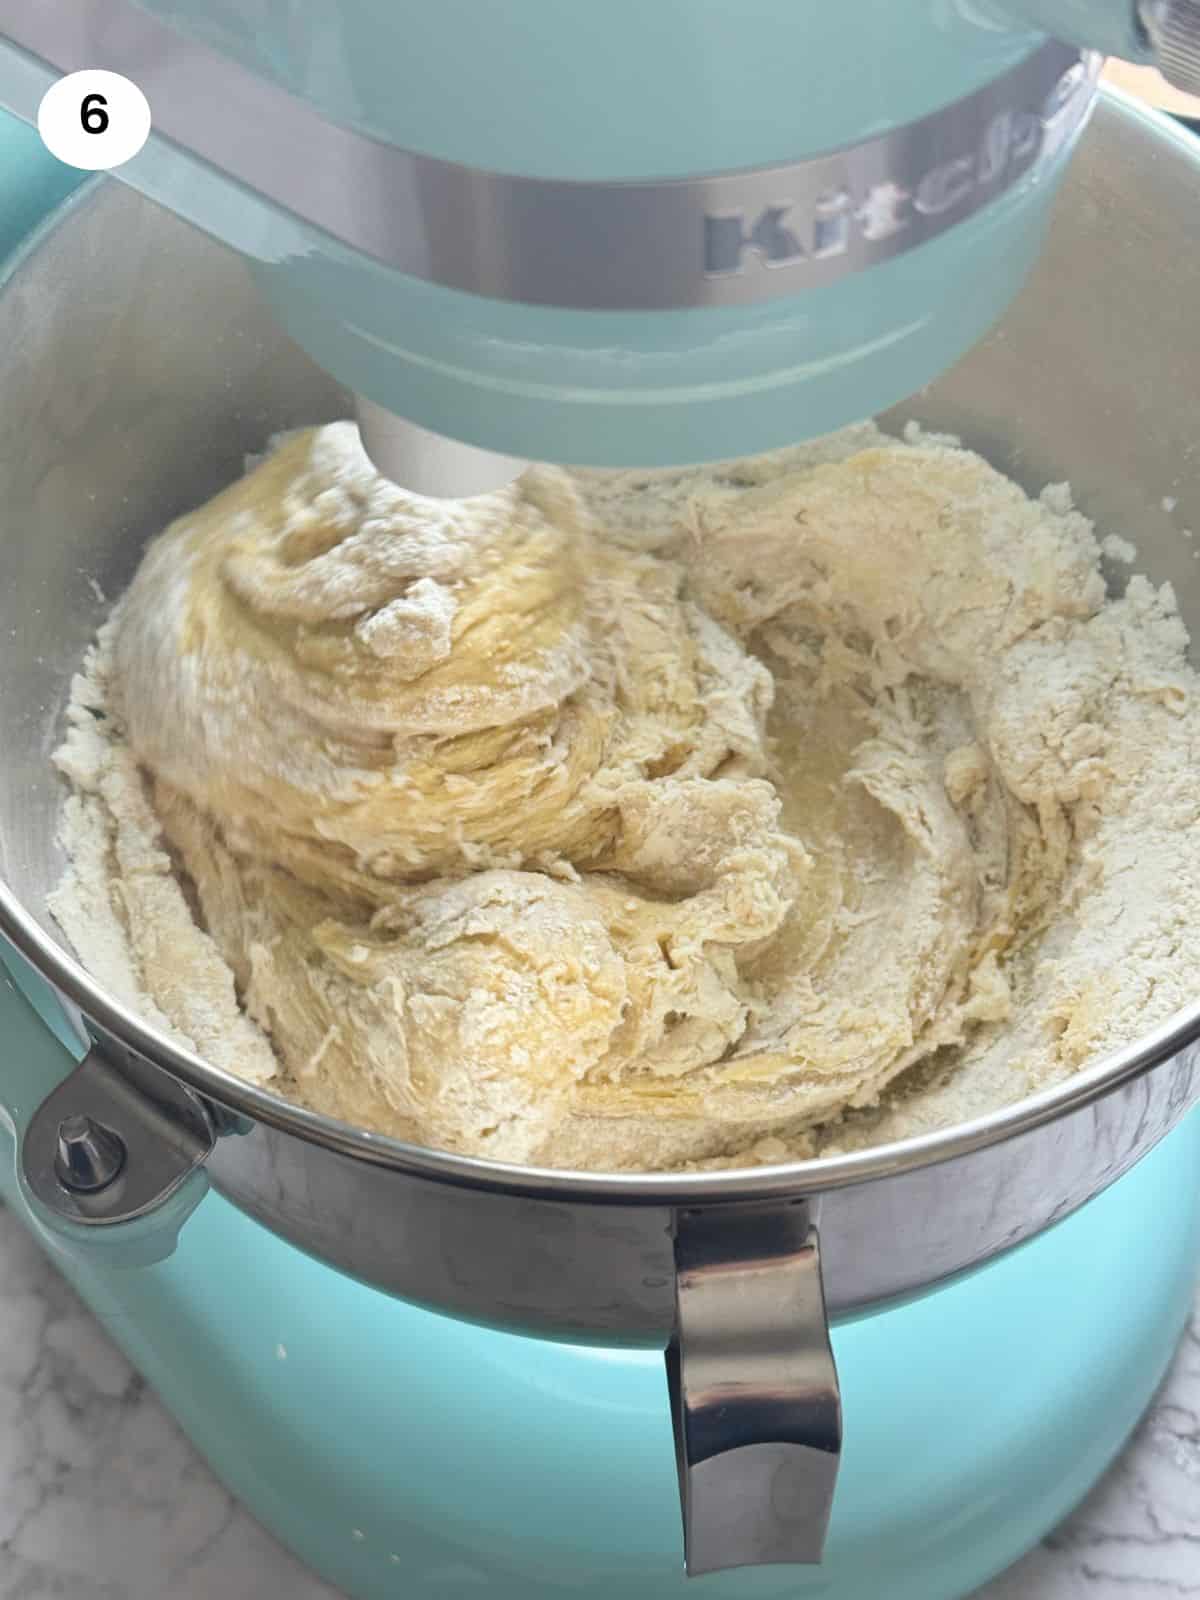
06. I have the stand mixer on medium-low speed to start and when the flour is incorporated, I turn it up to medium. I leave it to knead for about 15 minutes and occasionally, using a rubber spatula, I scrape up the sides and add them to the dough in the center.
Mamazilla's Product Recommendations
This mini KitchenAid stand mixer is a high quality mixer and a bit smaller than the expensive bigger version they have. If you are not a heavy duty baker or don't have a lot of space, I highly recommend it.
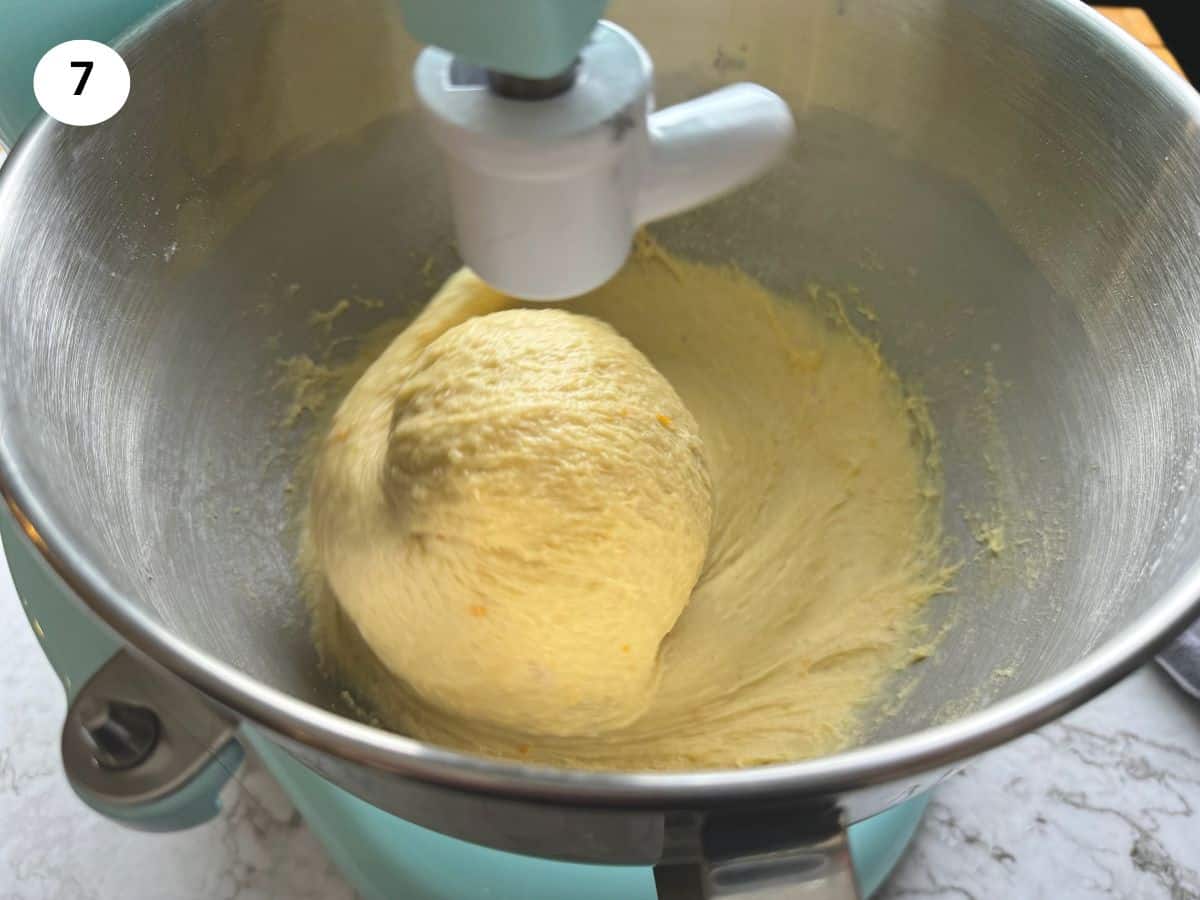
Buy On Amazon07. The dough is ready when it forms a ball around the hook and it’s not too sticky and falling apart. Now it’s time to start adding the butter.
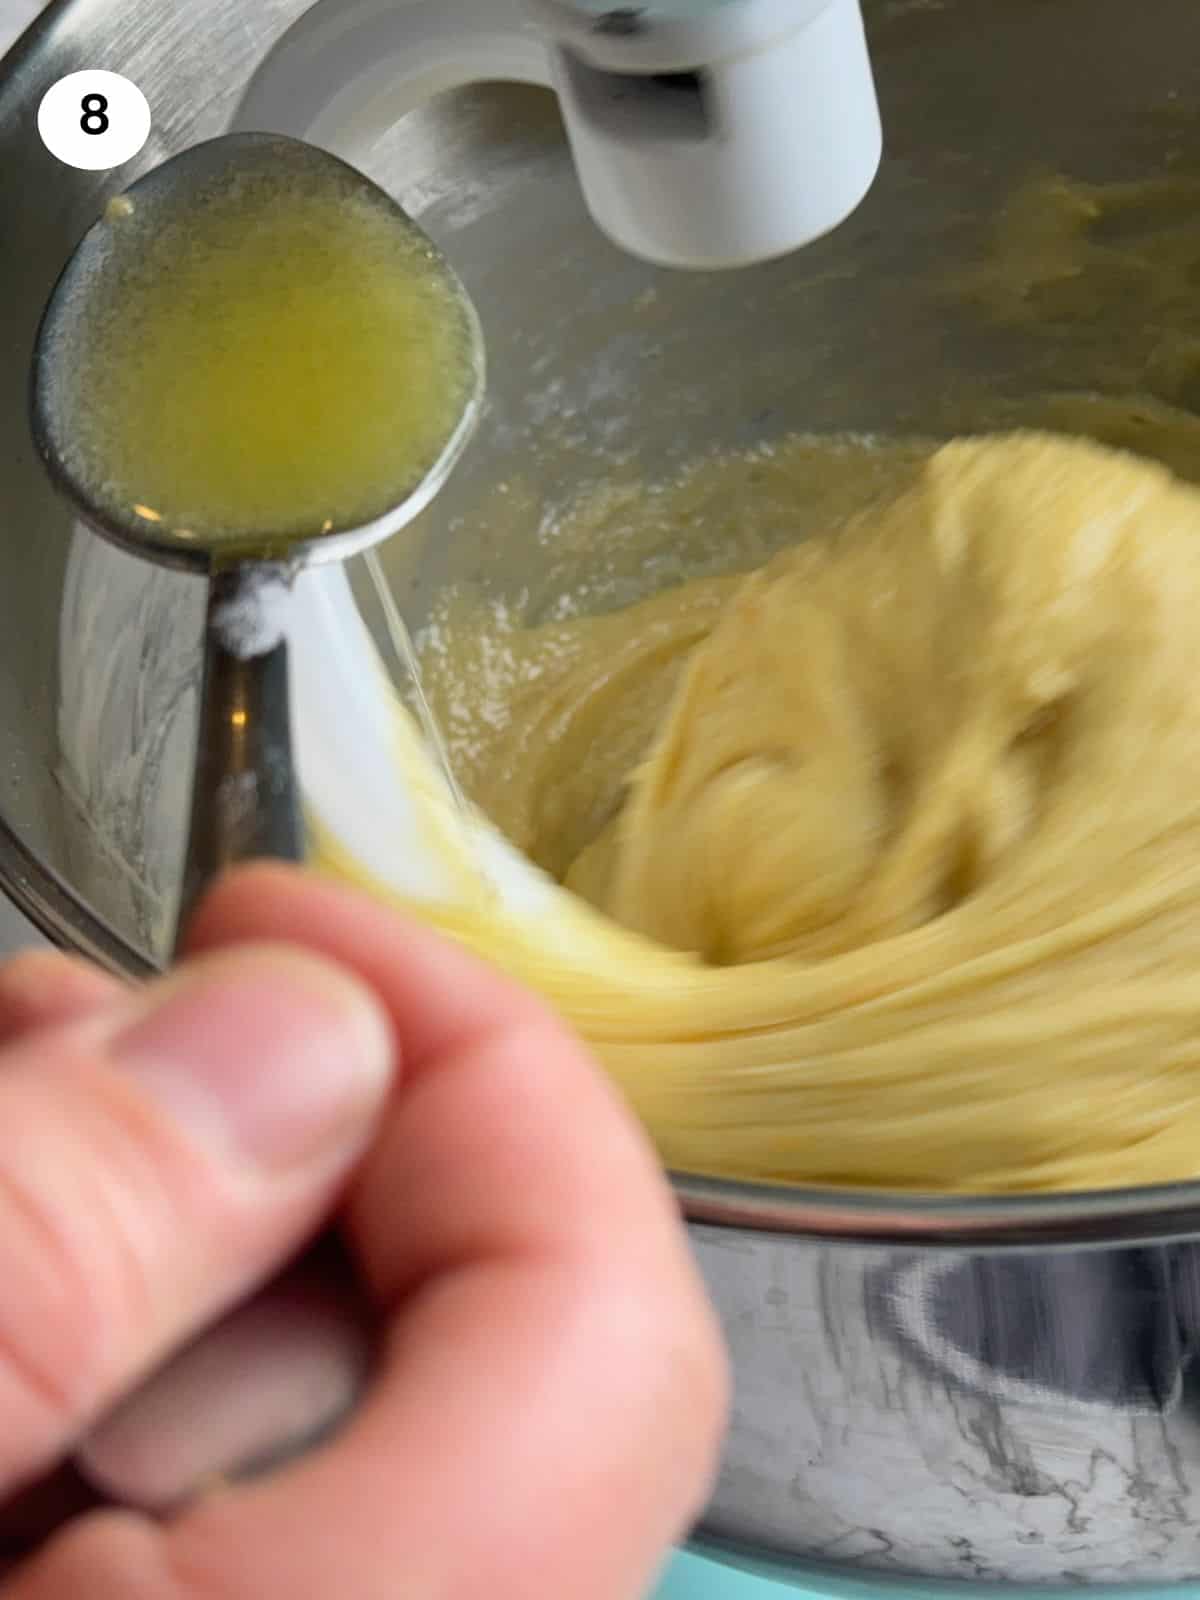
08. The butter needs to be softened but not hot. I’m adding one tablespoon of butter at a time. Then I wait for 20-30 seconds until it’s fully incorporated before adding the next tablespoon. It should take you at least 10 minutes to add all the butter in.
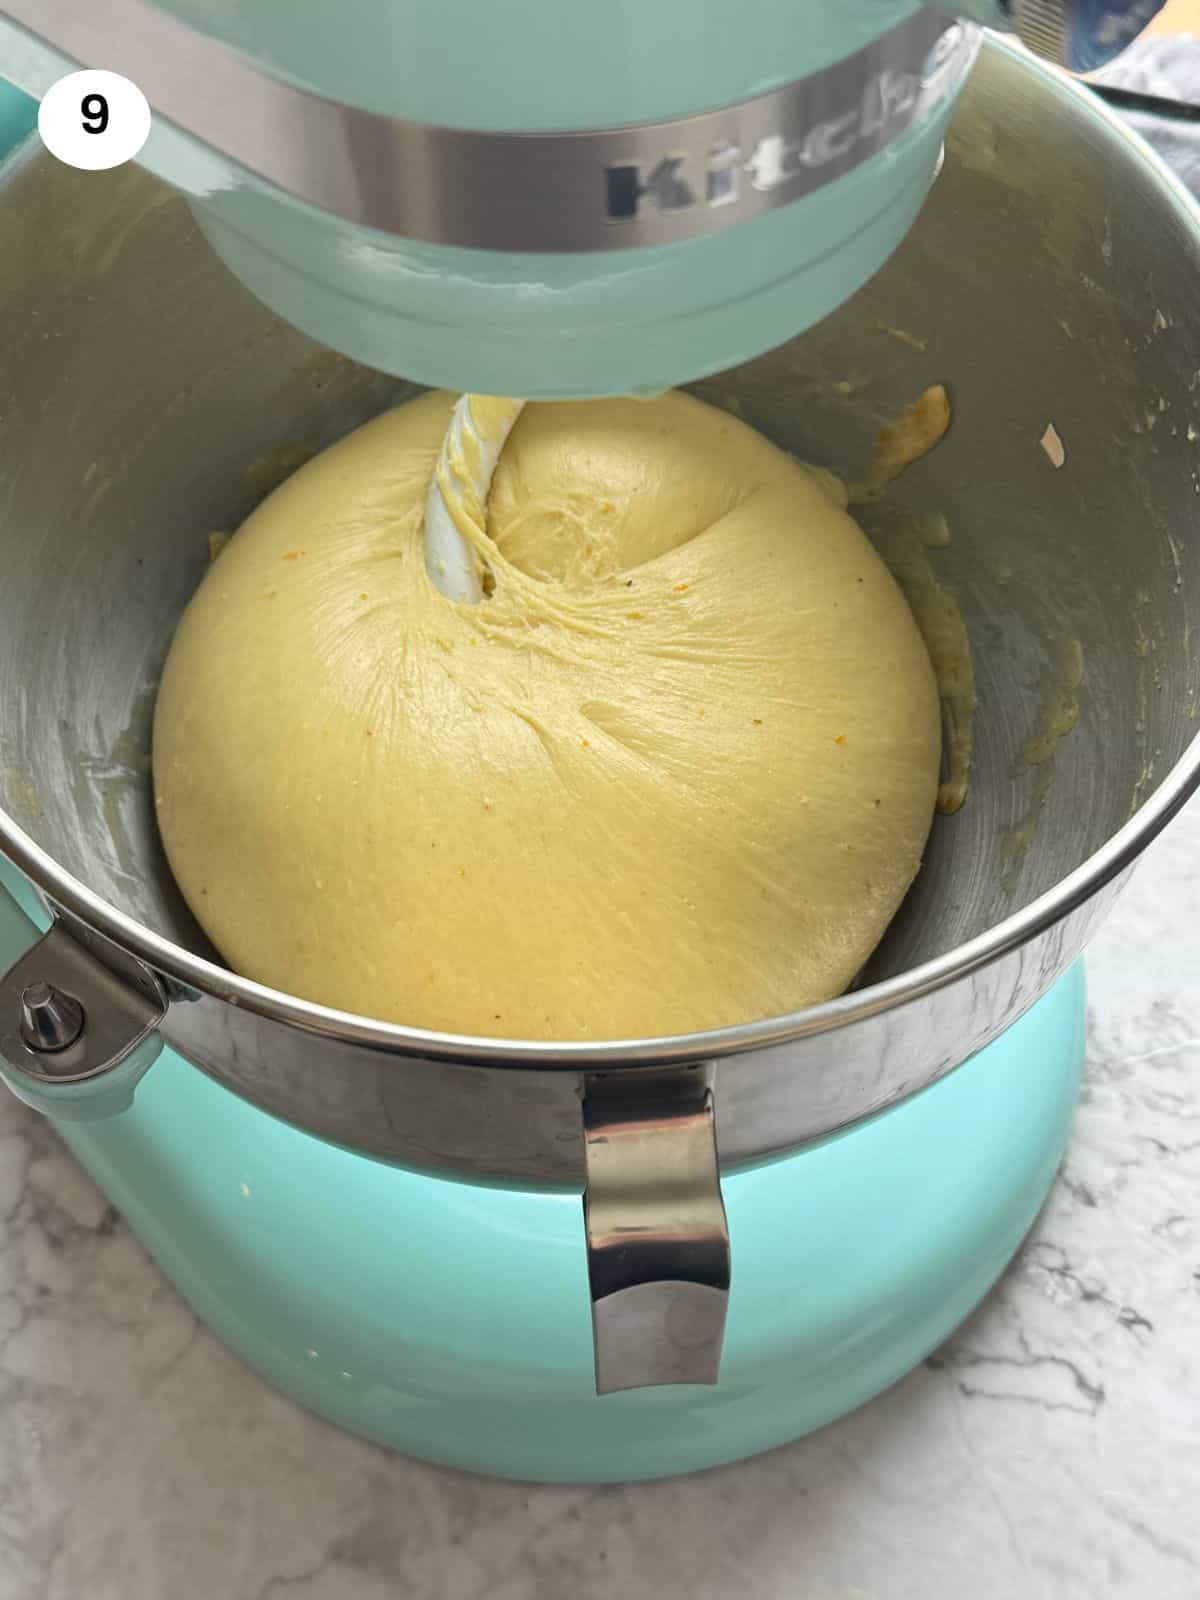
09. After all the butter is in, the dough will be very shiny and slippery. We need to knead it for 15 minutes to encourage the gluten to develop again. The dough is ready when it doesn’t stick to the sides and it’s like a shiny ball.
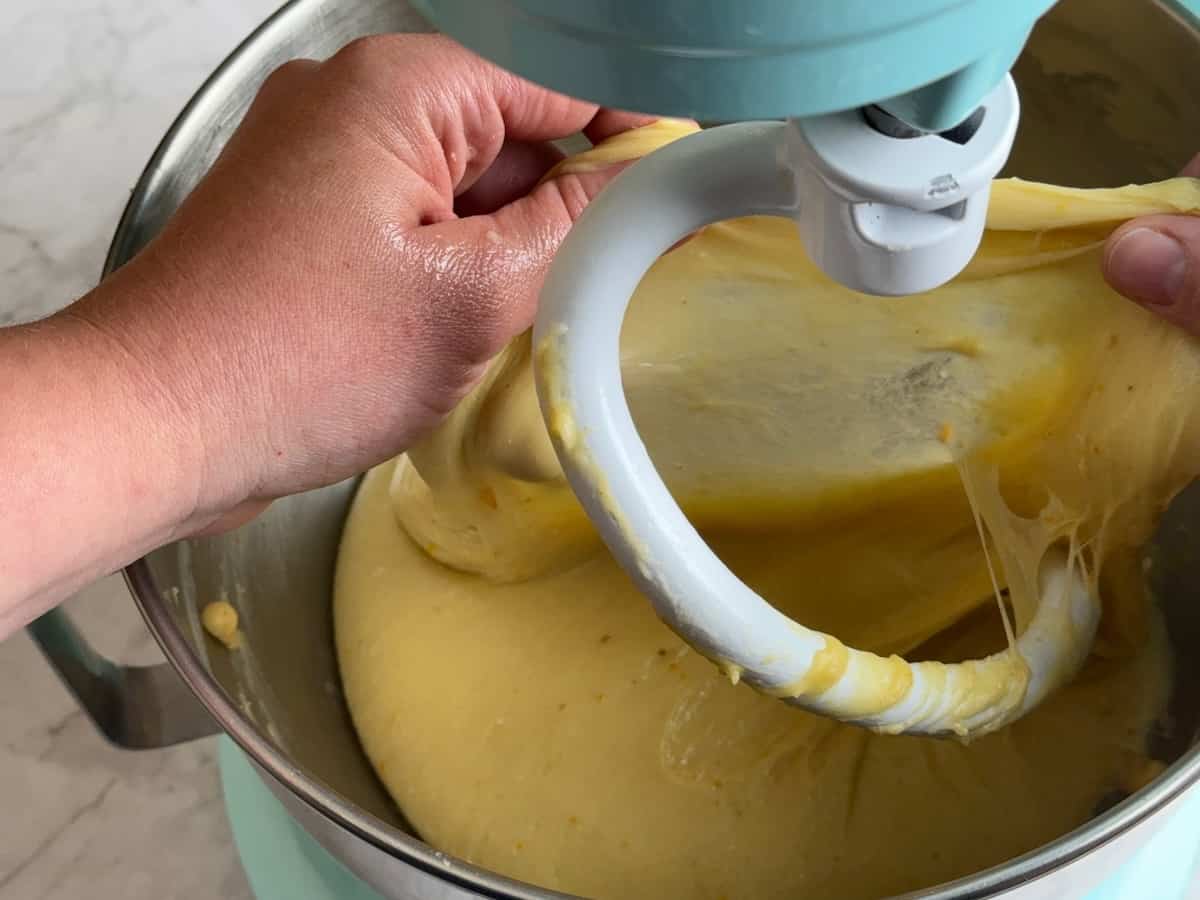
You could also do the windowpane test where you stretch the dough with the tip of your index fingers until it’s see-through without breaking.
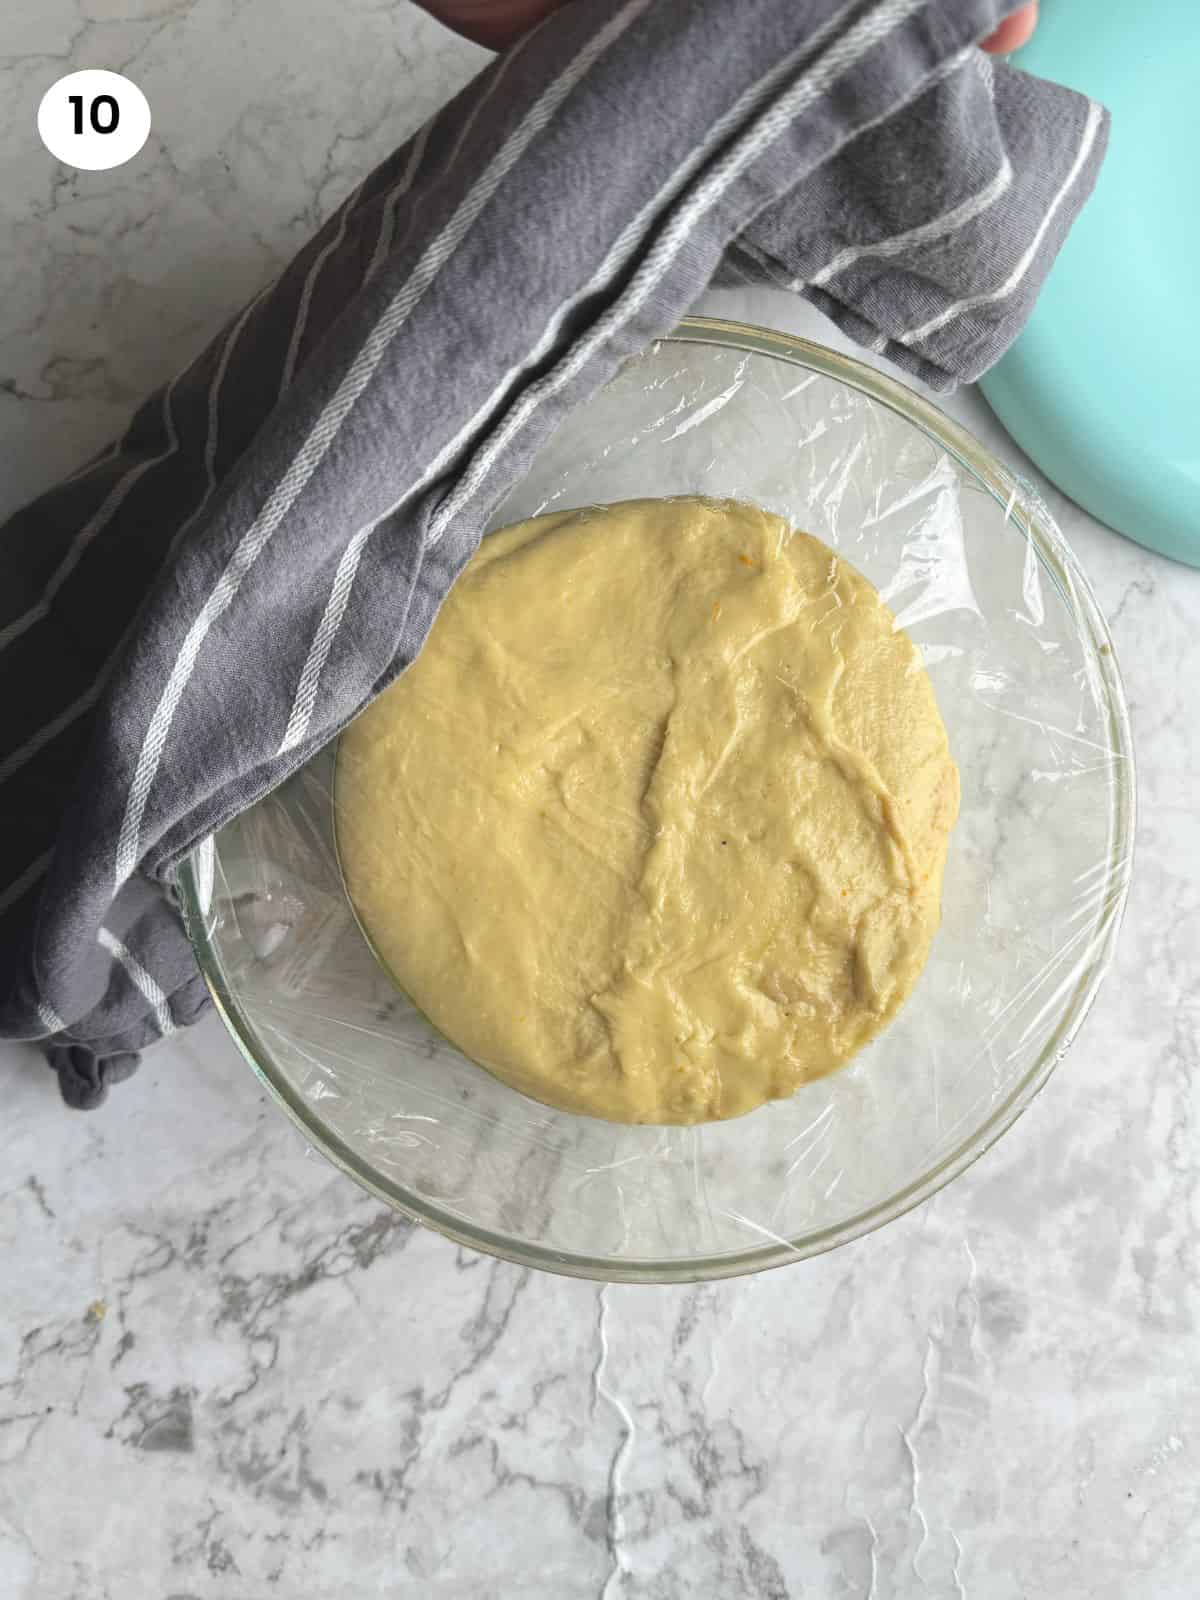
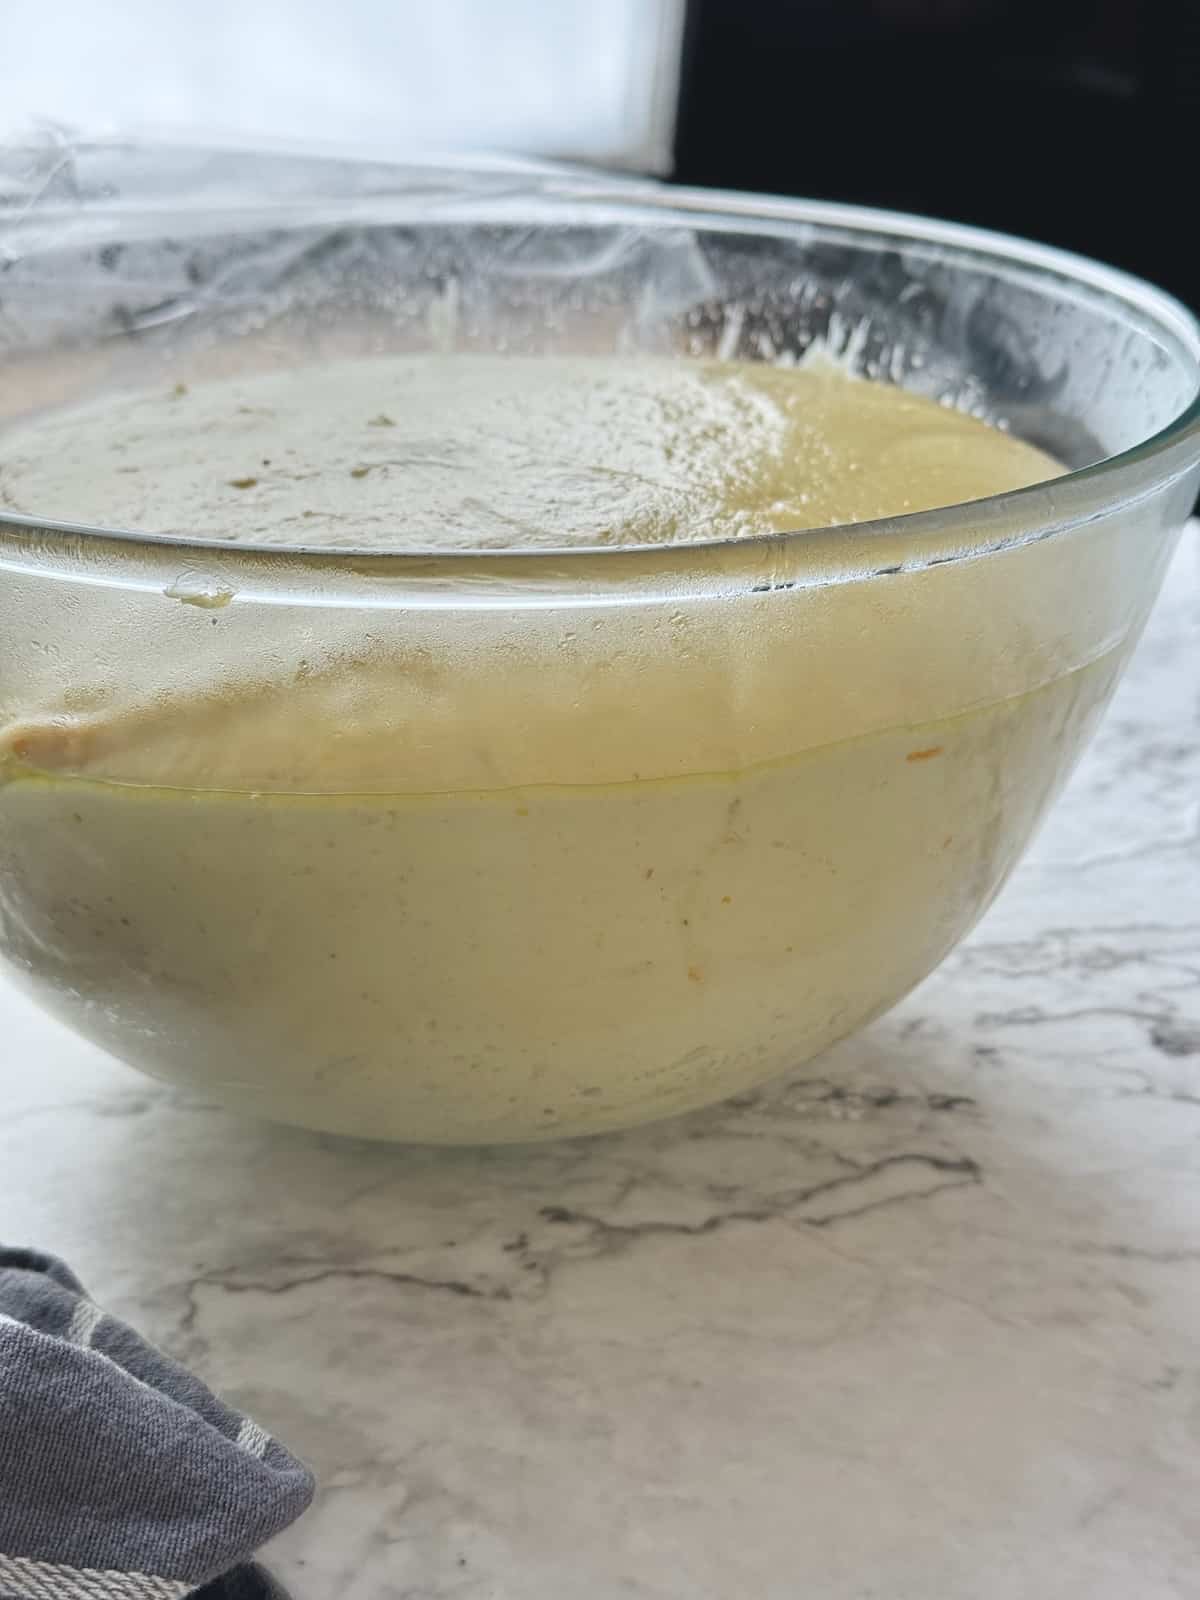
10. Now it’s time to leave the dough to proof. I add a little bit of oil to the bottom of a bowl and then place the dough in it. I cover with some cling film and wrap with a couple of towels. I place the bowl in a warm corner of my kitchen, usually next to the stove, and leave for 2-2.5 hours until it’s double the size.
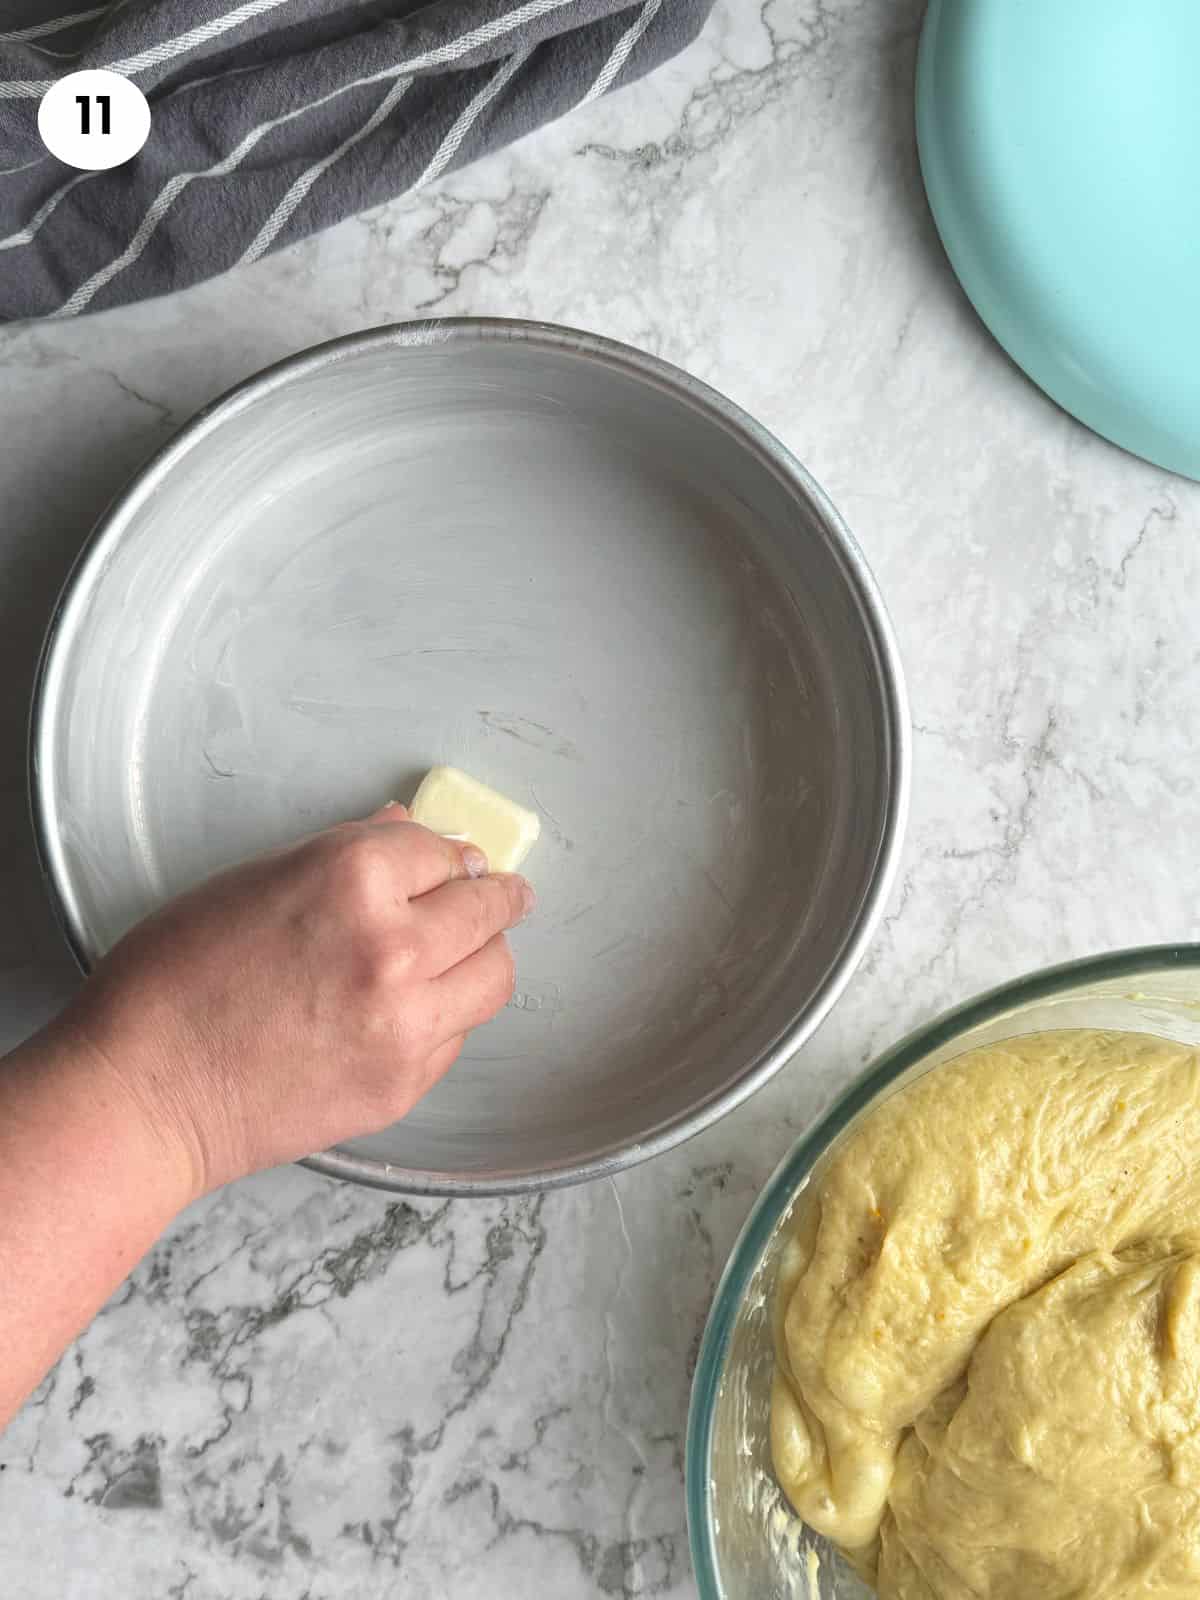
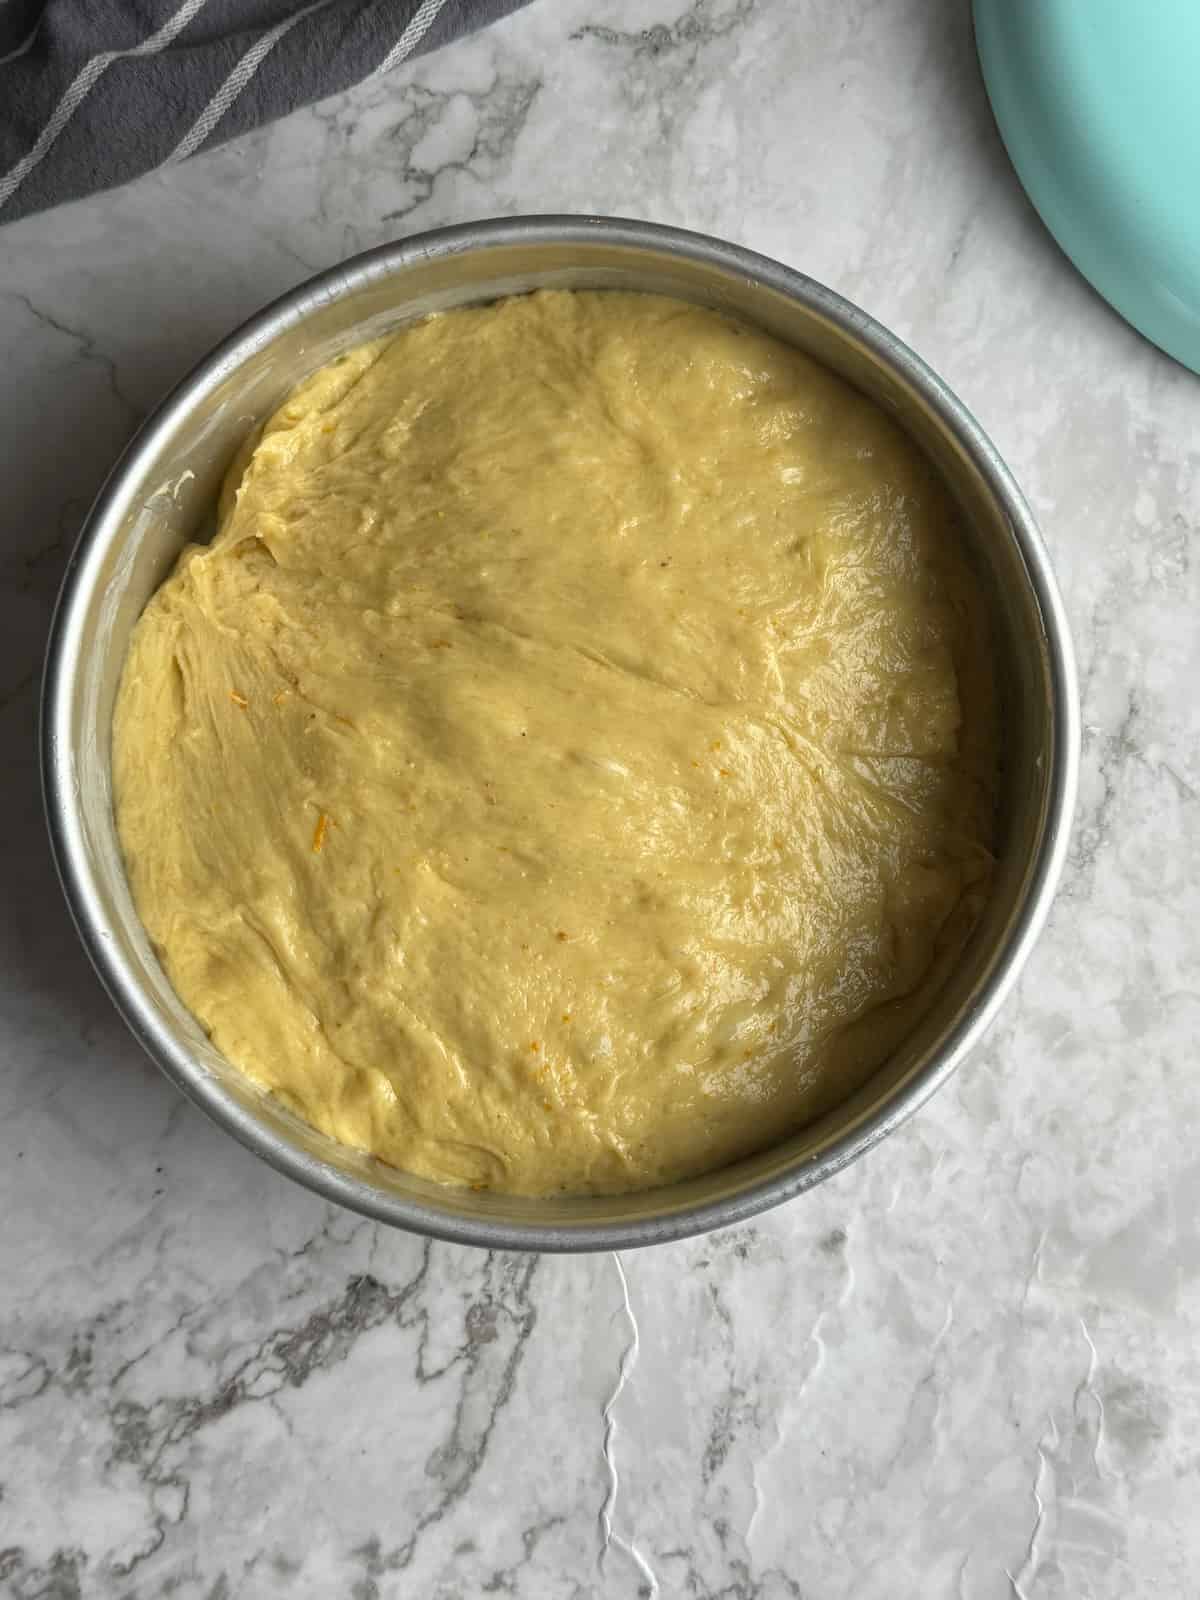
11. I deflate the dough by kneading it for a minute on a wooden board and give it a round shape with my hands. Then I place it in a round cake pan (9in / 23cm) that I have greased with some butter. I cover it again with some plastic wrap and leave it for 45 minutes to rise.
Mamazilla's Product Recommendations
A high quality set of pans for cakes and bakes, sturdy, easy to clean and non-toxic materials used. Love them!
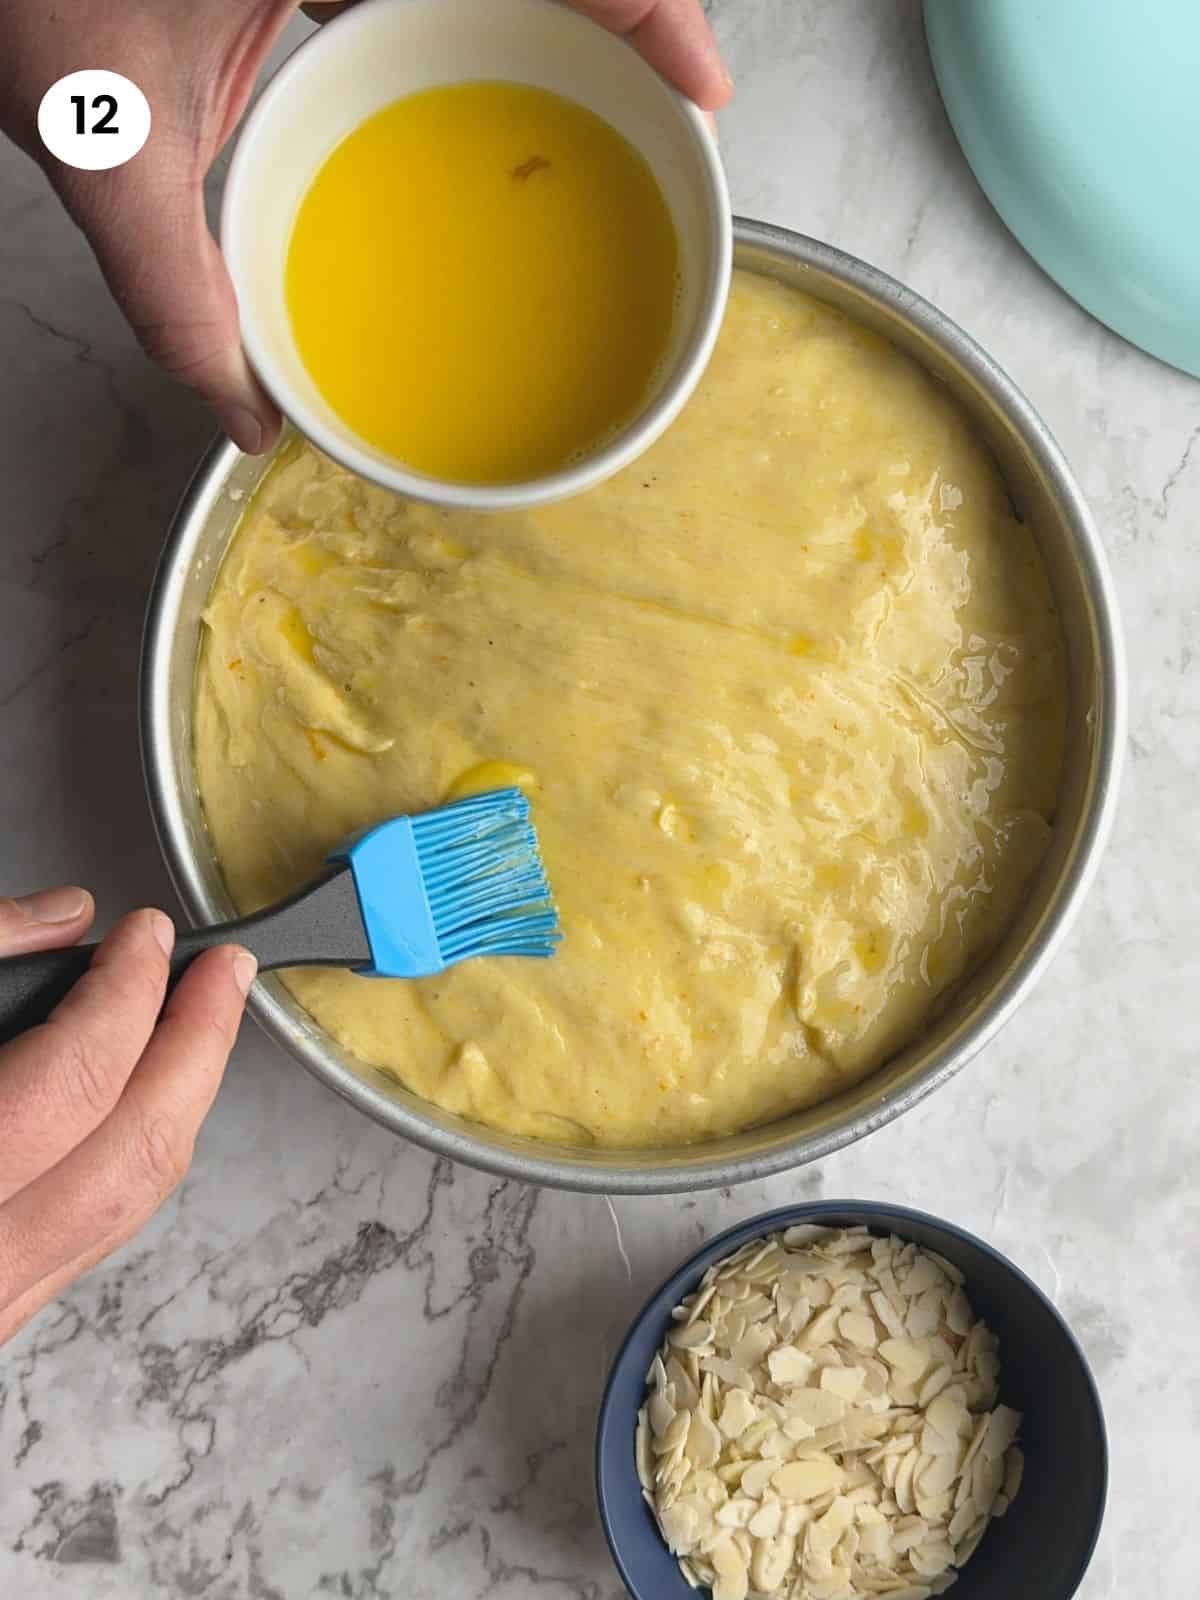
Buy On Amazon12. Before I bake the vasilopita bread, I brush the top with eggwash (an egg beaten with a tablespoon of water or milk). Now, it’s time to bake. I place the Greek brioche in a preheated oven to 350F or 180C and bake for 50 minutes. The top will have a dark brown color and should be hard.
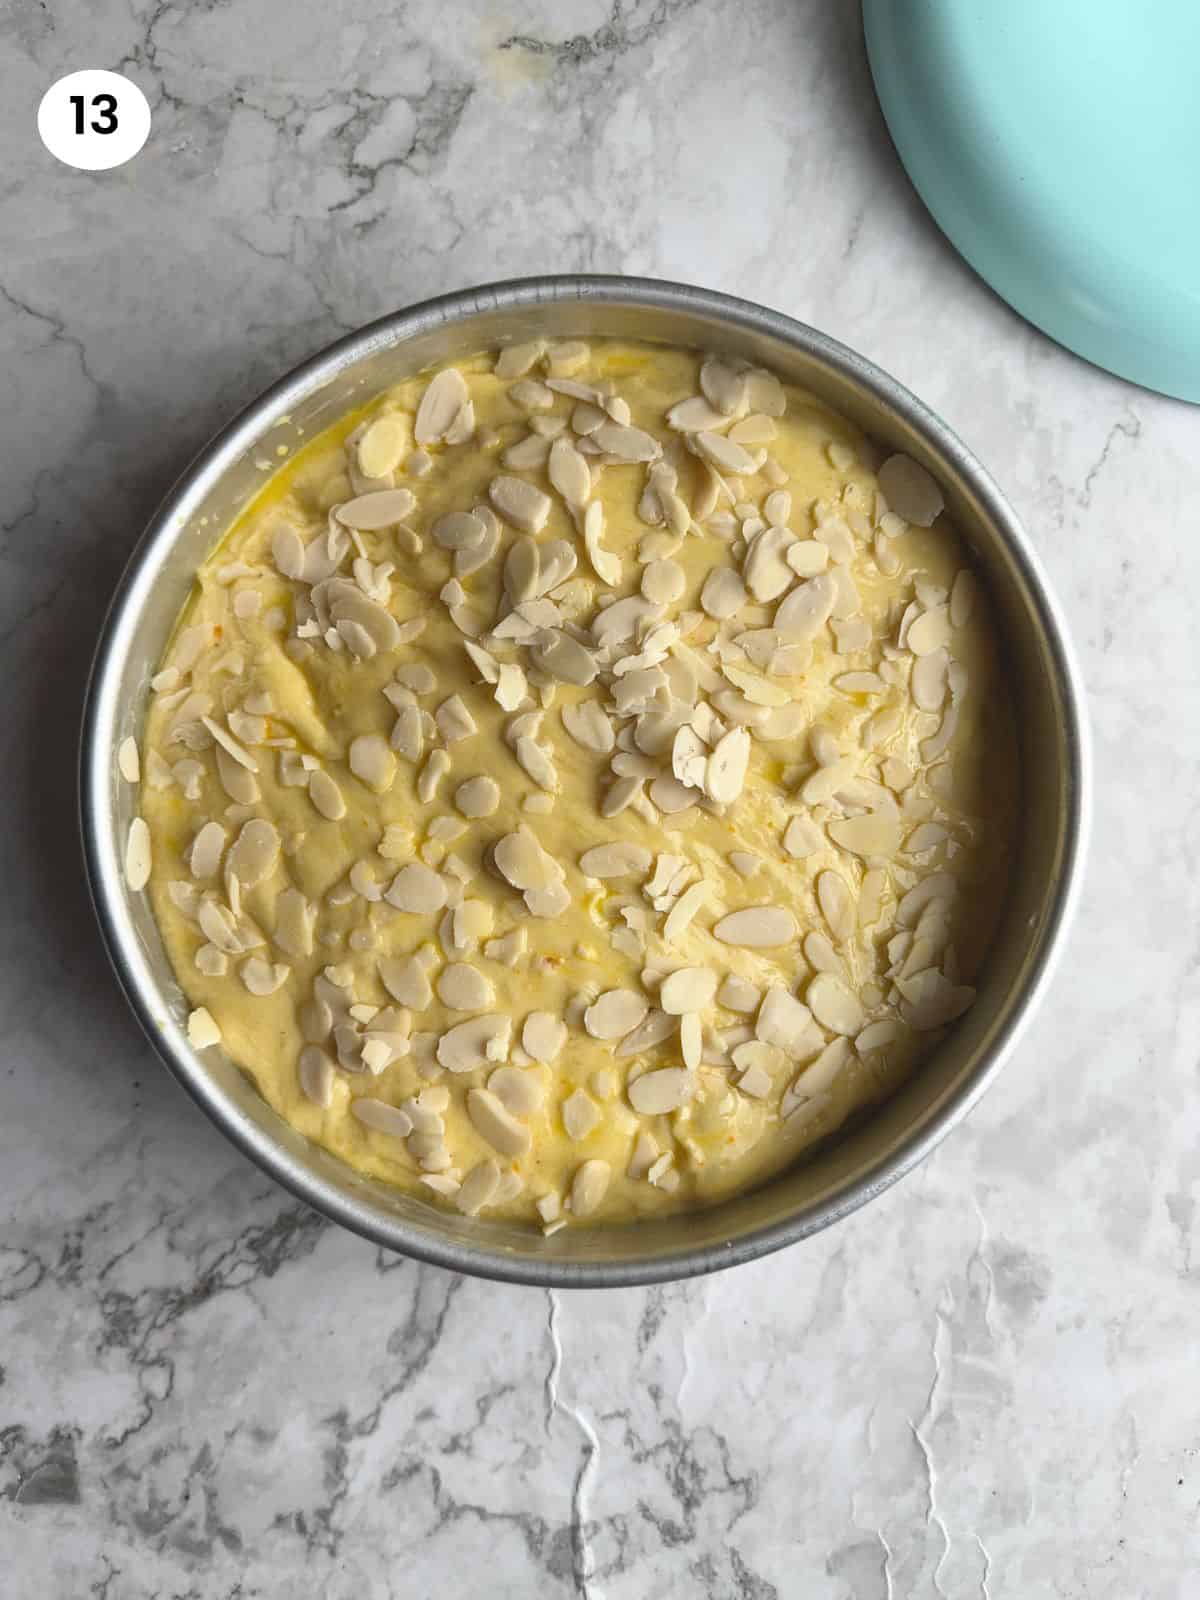
13. You can decorate the Greek New Year’s bread as you like. Some people just add some sesame or sliced almonds on top of the eggwash before baking. Alternatively, you could cover with white or dark chocolate and add some sprinkles. Usually we put the new Years date on it and of course, don’t forget to wrap a coin in some foil and place it in the sweet bread for a lucky person to find.
Tips
- Make sure the ingredients are at room temperature and the milk is lukewarm.
- Slowly incorporate the butter, one tablespoon at a time.
- Make sure the place where you leave the dough for proofing is not cold.
- Grease the cake pan well so it’s easier to remove the sweet bread when it cools down.
- If you house is cold or on a cold day, you might need to leave it longer to proof.
Substitutions
- Instead of granulated sugar, you could use brown sugar.
- Instead of orange zest, you could use lemon zest.
- If the mahlepi flavor is too strong for you, you could use one teaspoon instead of two.
Serving suggestions
The tradition of cutting the Greek New Year’s sweet bread typically takes place on New Year’s Eve, shortly after midnight, when the new year officially begins. The initial slice is dedicated to Christ, followed by one for the household, and subsequent pieces are cut for each family member. It’s not uncommon to witness people eagerly breaking down their slices in hopes of discovering the coveted lucky coin.
In the case of smaller families, the individual portions might be generously sized, prompting the option to save some for the following day. Vasilopita makes for a delightful breakfast paired with a comforting cup of coffee or tea or milk for the little ones.
Storage
If you have any leftover Vasilopita bread you can just store it on the kitchen counter in a sealed container and consume it within 3-4 days. It won’t be as soft and spongy as on the first day, but it will still taste great. This New Year’s bread is also freezable, so if you have a few pieces left and would like to keep it fresh and soft, simply put a slice or two in a freezable bag and place it in the freezer.
FAQ
Traditionally, the main host is the one to cut the Greek New Year's vasilopita bread. The first slice is for Christ, the second for the house and then you cut one piece for each member of the family. Whoever gets the lucky coin will have luck for the whole year and sometimes they get some money or a charm.
Vasilopita can be a cake or a sweet bread similar to brioche. What makes it unique to other types of cakes or bread is the addition of orange juice and zest and spices like mahlepi and mastic that have a special aroma.
If you tried my Greek New Years Bread - Vasilopita Tsoureki or any other recipe on my website, please leave a 🌟 star rating and let me know how it went in the 📝 comments below. I love hearing from you!
Recipe
Greek New Years Bread - Vasilopita Tsoureki
An authentic Greek New Year's sweet bread, rich in flavor from aromatic spices and orange zest, boasts a wonderfully soft and buttery texture. Typically enjoyed on New Year's Eve right after the stroke of midnight or the following morning, this vasilopita bread holds a special tradition. The fortunate finder of the lucky coin is believed to be blessed with good luck throughout the entire year. Enjoy!12 pieces
40 minutes
Yeast Ingredients
- 1 ½ tablespoons active dry yeast
- 4 tablespoons milk (lukewarm)
- 1 tablespoon sugar
- 2 tablespoons all-purpose flour
Dough Ingredients
- 4 eggs at room temperature
- 100gr / 4.5 oz / ½ cup sugar plus 1 teaspoon
- ½ cup / 120ml milk lukewarm
- zest of an orange
- 80ml / ⅓ cup orange juice
- 228gr / 1 cup / 2 sticks butter at room temperature or softened
- 2 teaspoons mahlepi
- 4-5 mastiha kernels
- ½ teaspoon salt
- 600gr / 21oz / 5 cups all-purpose flour
Decoration
- 1 egg
- 1 tablespoon milk
- ¼ cup blanched almonds slices
Equipment
- stand mixer (paid link)
- cake pan (paid link)
- dough scraper (paid link)
Instructions
- Mix the yeast ingredients: yeast, lukewarm milk, 1 tablespoon of sugar and 2 tablespoons of flour in a bowl.
- Cover with a plastic wrap and a tea towel. Leave it in a warm corner of the kitchen for 30 minutes.
- In the stand mixer bowl, add the eggs, sugar, lukewarm milk, orange juice and orange zest. Mix with a hook until the eggs are broken.
- Grind the mastiha tears with a teaspoon of sugar using a spice grinder or pestle and mortar or a rolling pin and a bag.
- Mix the dry ingredients in a bowl. The flour, mahlepi, salt, and ground mastiha.
- Add the yeast and half of the flour mixture to the stand mixer bowl with the egg mixture. Mix with the hook for a couple of minutes until the flour is incorporated.
- Add the remaining flour and mix at medium speed for about 15 minutes, until the dough forms a ball around the hook.
- Add the softened butter to the bowl, one tablespoon at a time. Make sure each tablespoon is incorporated before adding the next one. It should take you about 10 minutes to add all the butter to the bowl.
- When you are done with the butter, leave it to knead for 15 minutes until the dough becomes shiny and it's not sticking to your fingers.
- Cover with plastic wrap and a tea towel and leave the dough to proof in a warm corner of your kitchen for 2-2.5 hours until it's doubled in size.
- Deflate the proofed dough by kneading it for a minute. Grease a 9-inch cake pan with butter and place the dough in the middle. Gently spread it to cover the edges.
- Cover with a plastic wrap and leave it to proof for 45 minutes.
- Mix an egg with a tablespoon of milk until combined. Brush the top of the sweet vasilopita bread.
- Decorate with the almond flakes. Bake for 50 minutes in a preheated oven to 180°C/350°F.
- Leave it to cool down for 5-10 minutes before removing from the cake pan and don't forget to hide a coin wrapped in foil.
Notes
- Make sure the ingredients are at the right temperature.
- The dough should pass the windowpane test when it's ready.
- Make sure the room is warm enough for the dough to rise.
Storage
Store the Greek sweet bread at room temperature for up to 3-4 days or in the freezer for up to 2 months.
Nutrition Info (per serving)
I am not a nutritionist. The nutrition information has been calculated using an on-line calculator, and is intended for information and guidance purposes only. If the nutrition information is important to you, you should consider calculating it yourself, using your preferred tool.






Comments